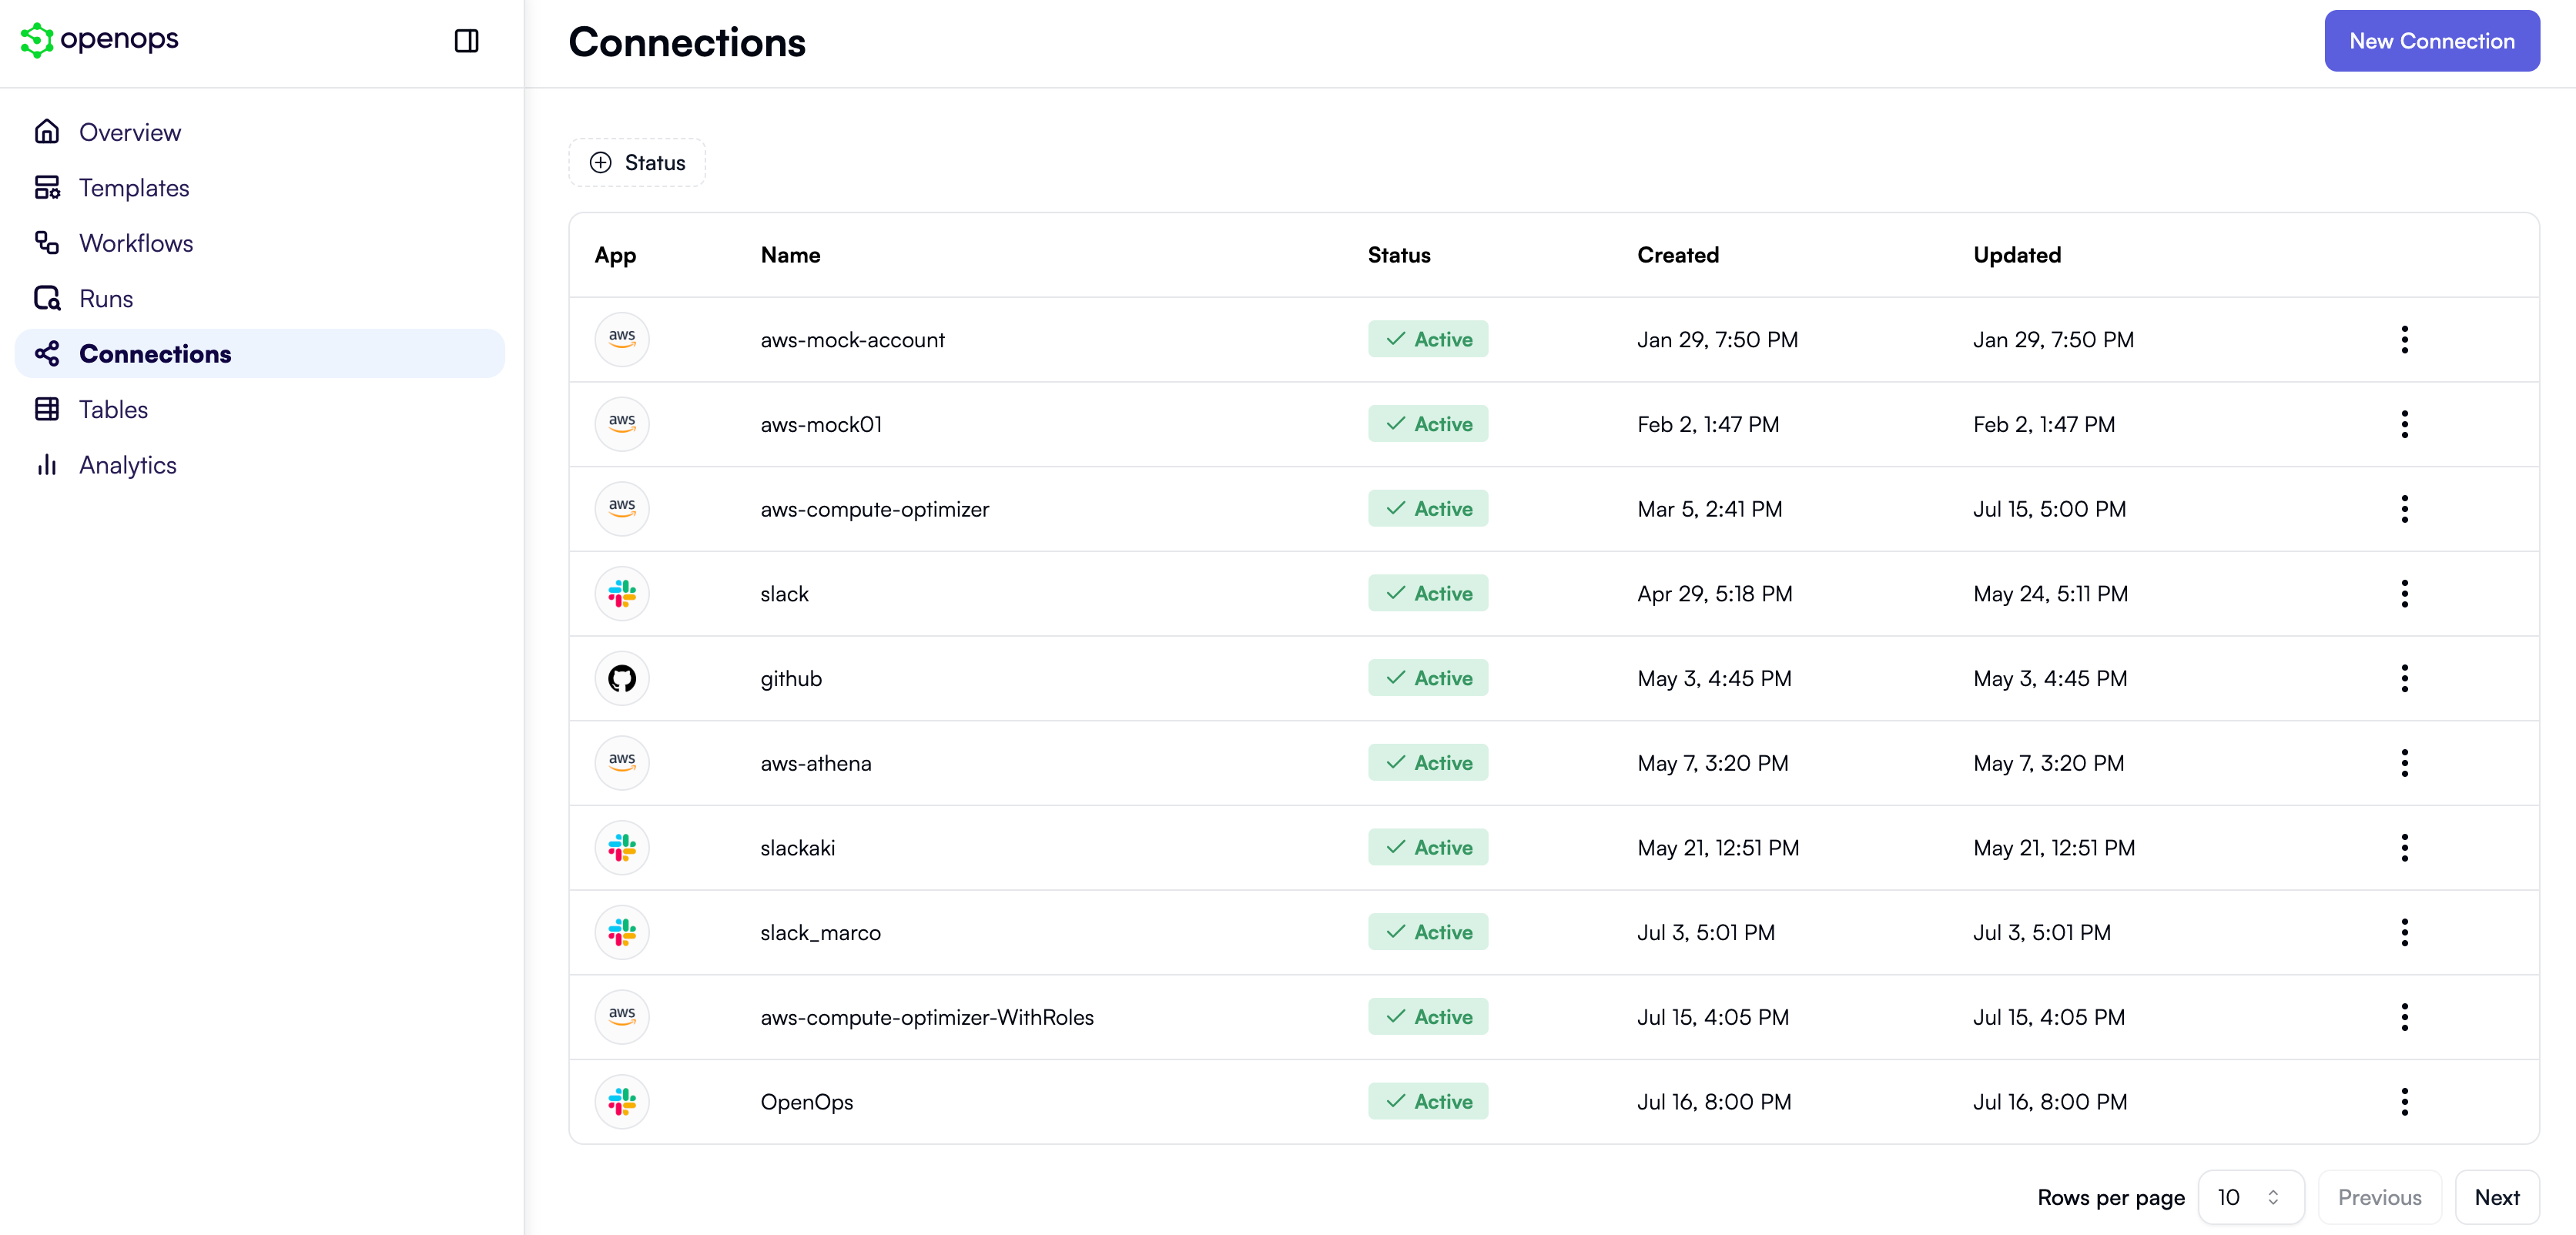
- Upfront by going to the Connections tab and clicking New Connection. This opens a pop-up that lets you first select a connection type:
- While editing the workflow, in action properties, by opening the Connection dropdown and clicking Create Connection:
AWS connections
In OpenOps, AWS connections are used for actions that access AWS resources, as well as for AWS Athena, AWS CloudFormation, and AWS Compute Optimizer actions. You can choose one of two approaches to configure connections to your AWS resources:- Using access keys: a pair consisting of an access key ID and a secret access key.
- Using an IAM role attached to the EC2 instance where OpenOps is hosted. This is a more secure approach and is recommended for production use. However, it requires that OpenOps is hosted on an AWS EC2 instance.
Connecting using access keys
This approach requires specifying your access key ID, secret access key, and the default region in the AWS connection properties: You can create an IAM user in the AWS Management Console. When you do, you’ll get an access key ID and a secret access key to enter in the AWS connection configuration form. The specific set of permissions you assign to the user depends on what you want to do in the workflows that will use the AWS connection. For example, if you want your workflow to turn off EC2 instances, assign theec2:StopInstances permission as shown in this guide.
If you have multiple AWS accounts and want one of them to define all the permissions that may be needed for workflows defined by OpenOps templates, consider installing the OpenOpsApp AWS Role Stack. Even if you don’t, you can download the stack and use it as a reference when configuring permissions for your workflows.
Connecting using an IAM role attached to your EC2 instance
If you host OpenOps on an AWS EC2 instance, you can use an IAM role attached to the instance instead of access keys. This is a more secure approach and is recommended for production use of OpenOps. Here’s what you need to do:- If your EC2 instance doesn’t already have an IAM role attached, attach one by following this guide.
- Open the
.envfile in your OpenOps installation directory. Inside the file, set theOPS_AWS_ENABLE_IMPLICIT_ROLEvariable totrue. - After making any changes to the
.envfile, restart the OpenOps containers: - Create an AWS connection in OpenOps. In the connection properties, leave the Access key ID and Secret access key fields empty, and specify the default region. The connection will now automatically use the IAM role attached to your EC2 instance.
Connecting to multiple AWS accounts
OpenOps supports two approaches for working with multiple AWS accounts. If you prefer to work with each account separately, you can create an AWS connection for each account using AWS access keys. In this case, each connection should include that account’s access key ID, secret access key, and default region. You can then assign different connections to different workflow actions. If you want to access multiple accounts together (for example, create a workflow that finds EC2 instances in multiple accounts), you can connect to the accounts from a single OpenOps connection. One account would have to have an assume-role trust with the other accounts. It is common to use the “payer” account in an organization for that purpose. To configure the connection in OpenOps:- In the AWS connection UI, configure a connection to your central account using access keys or an IAM role attached to your EC2 instance. This account must have permission to assume roles in the other accounts.
- In the Roles section, click Add Item.
- For each additional AWS account you want to connect to, specify:
- Assume role ARN: the Amazon resource name (ARN) of the IAM role to assume in this account (e.g.,
arn:aws:iam::123456789012:role/OpenOpsExecutionRole). - Assume role external ID: a shared secret defined in the IAM role’s trust policy. Leave this field blank if the role does not require an external ID.
- Account alias: a convenience label used to identify this account in your workflows (e.g.,
dev,prod,billing).
- Assume role ARN: the Amazon resource name (ARN) of the IAM role to assume in this account (e.g.,
Azure connections
A connection to Azure requires specifying your application (client) ID, client secret, and directory (tenant) ID: If you don’t already have these credentials, you can acquire them by creating an Azure service principal. There are two ways to do this: with the Azure CLI or the Azure Portal. Alternatively, instead of creating a connection, you can use your local Azure CLI credentials.Creating an Azure service principal using the Azure CLI
Run the following Azure CLI command to create an Azure application and a service principal with the “Contributor” role at the subscription level:--role flag instead. For example, this command assigns the “Reader” role to the service principal:
appIdto Application (client) IDpasswordto Client Secrettenantto Directory (tenant) ID
Creating an Azure service principal using the Azure Portal
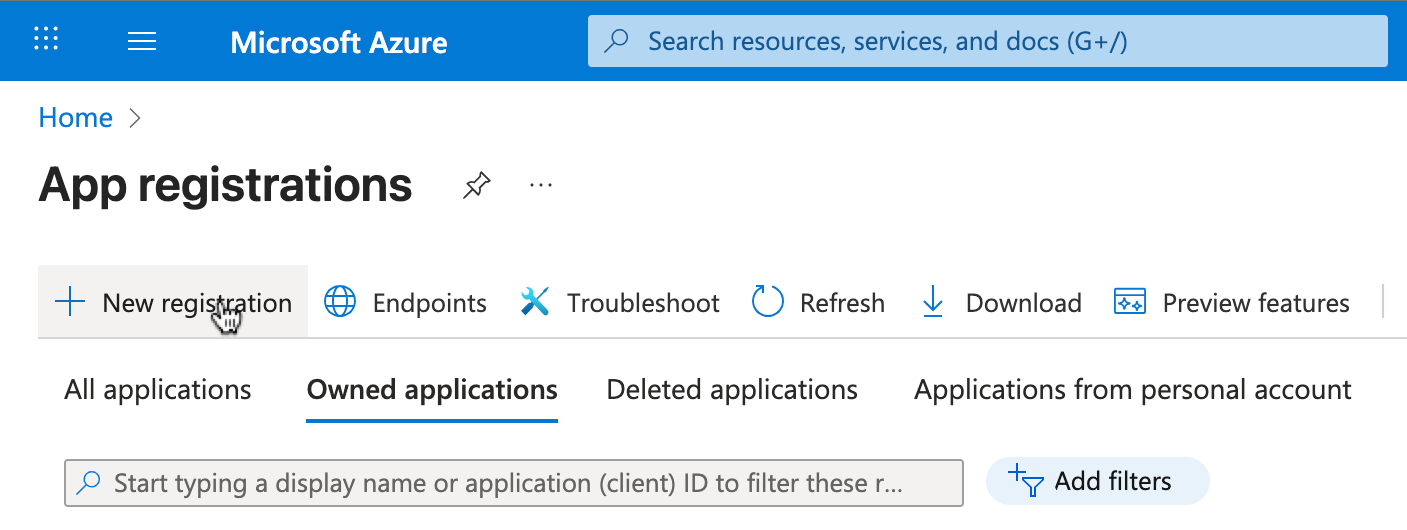
- From the Azure Portal home screen, go to App registrations and click New registration to create a new application:
- In the Overview section of the new application, you should now see the client ID and tenant ID. Copy these values into OpenOps.
- Go to the Certificates & Secrets submenu and create a new secret. Copy the secret to OpenOps now, as it will only be shown once.
- Go to the Subscriptions page and select a subscription for your new application’s service principal.
- Under the selected subscription, click Access control (IAM) on the left-side menu bar. In the view that opens, click Add, then select Add role assignment:
- In the Role step, select the role that you want your Azure connection to have. For a safe testing experience, use “Reader” or another read-only role. If you want to enable OpenOps to make changes to your Azure assets, choose “Contributor” or a more privileged role.
- In the Members step, click Select members and specify the name of your application. If your application does not appear in the dropdown immediately, search for it by name.
- Click Review + assign.
Using local Azure CLI credentials
If you’re running the Azure CLI on the same machine as your OpenOps installation, you can share your local Azure CLI session with OpenOps instead of creating a connection. To do this, open the.env file in your OpenOps installation directory and set the following environment variables:
OPS_ENABLE_HOST_SESSION=trueto enable sharing of the host session with the OpenOps container.HOST_AZURE_CONFIG_DIR=/root/.azureto define the path to the host machine’s Azure configuration folder that will be shared with the OpenOps container.
.env file, restart the OpenOps containers:
Google Cloud connections
There are two ways to connect to Google Cloud Platform (GCP) from OpenOps:Connecting with a GCP service account
A connection to Google Cloud Platform (GCP) requires creating a GCP service account with permissions to use GCP services that you want OpenOps to interact with.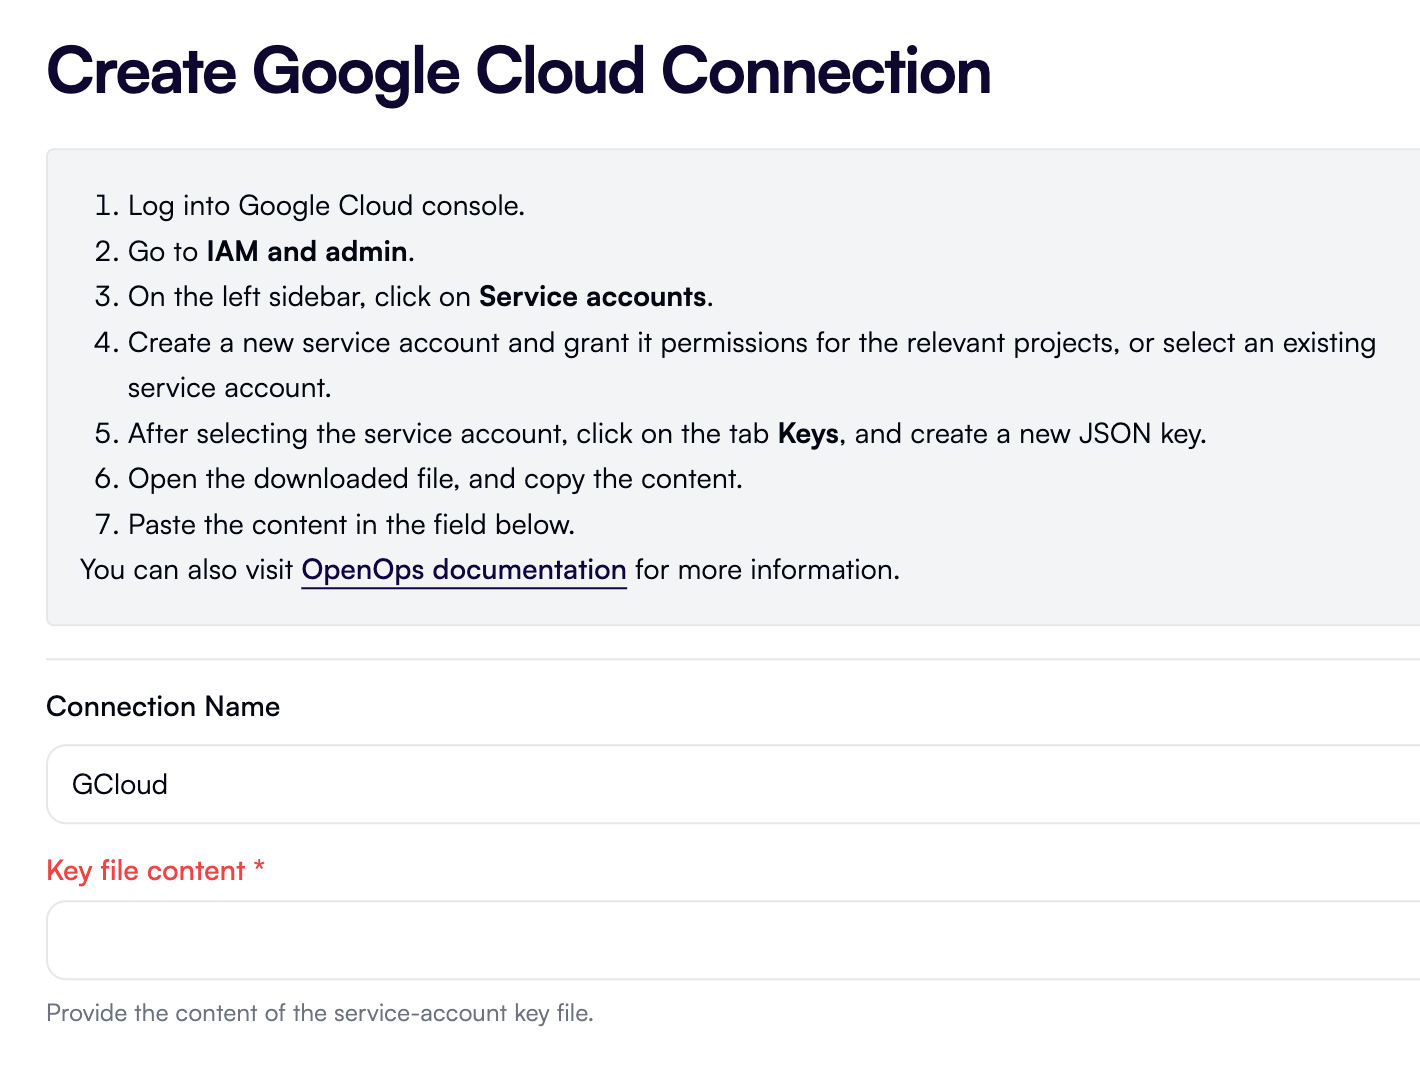
Using local Google Cloud CLI credentials
If you’re running the Google Cloud CLI on the same machine as your OpenOps installation, you can share your local CLI session with OpenOps instead of creating a connection. To do this, open the.env file in your OpenOps installation directory and set the following environment variables:
OPS_ENABLE_HOST_SESSION=trueto enable sharing of the host session with the OpenOps container.HOST_CLOUDSDK_CONFIG=/root/.config/gcloudto define the path to the host machine’s Google Cloud configuration folder that will be shared with the OpenOps container.
.env file, restart the OpenOps containers: