The general principle of data flow
Any action step can access the output data of any of its previous steps: both the trigger and actions. For example, in the section of a workflow shown above:- Step 4 has access to data produced by steps 3, 2, and 1.
- Step 3 has access to data produced by steps 2 and 1.
- Step 2 has access to data produced by step 1.
- If there was a conditional statement, such as Condition or Split, before your current action, then your current action will not have access to the outputs of any actions inside the branches of the conditional statement. If you need the output of actions in these branches to be available after the conditional statement completes, make sure to save it elsewhere, such as in OpenOps’ internal storage using the Put action in the Storage block. You can then retrieve it from storage using the Get action in the same block.
- This is also true for loops: the output of actions that occur inside a loop is not available outside the loop. If you need any data from the loop after it completes, make sure to save the data to storage while still inside the loop.
Selecting data from prior steps
When you create a new action step, chances are that its properties pane contains one or more data fields that accept data from previous steps. When you click in a data field, it opens the Data Selector pane, which helps you select a piece of data produced by previous steps as the input for the current step. Continuing with the example above, when you click in the Items field in the properties pane of the Loop on items action step, the Data Selector suggests all data generated prior: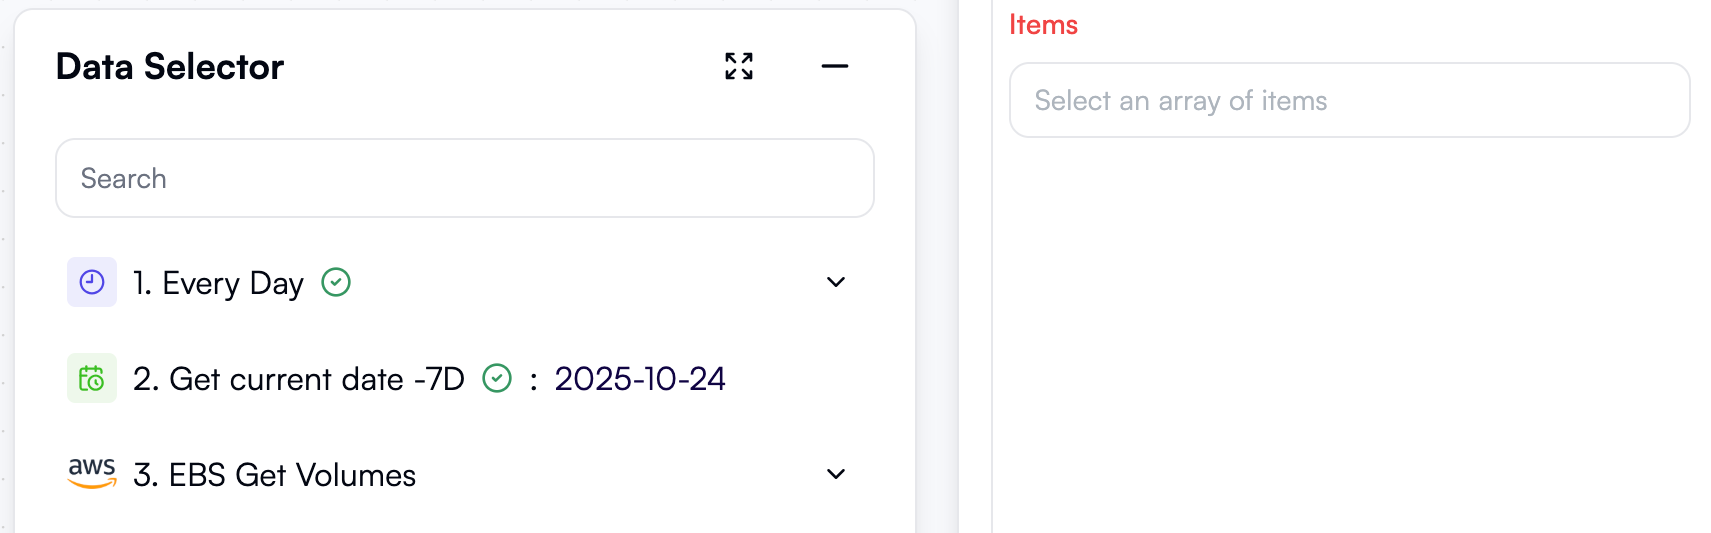
Transforming outputs
Sometimes, the output of a previous step may not be immediately suitable for use in your next steps. In this case, you can use several actions or combinations of actions to transform the output into a different format:- Use actions from the Text Operations block to concatenate, split, or otherwise transform text values.
- Use actions from the Math Operations block to perform arithmetic operations, calculate averages, or return minimum and maximum values.
- Use actions from the Date Operations block to format dates, extract individual date units (year, month, day, hour, etc.), or calculate date differences.
- Group By creates several nested lists, each containing one distinct value of a property that you specify.
- Map List Items does the same as Group By, but makes each nested list the value of a separate property.
- Extract From List keeps only one out of many properties in each list item.