Deploy OpenOps on your local machine
You don’t need a beefy machine for a test deployment. A modern OS like Windows 11, macOS Big Sur or later, or Ubuntu 20.04+ will do (see more on supported operating systems). You’ll also need Docker, so see Docker requirements to make sure you have a compatible version of a Docker client. Run the following command in your terminal to install, update, configure and run OpenOps:http://localhost/), along with the admin username and an autogenerated password.
Open OpenOps in your browser
Go ahead and open OpenOps in your browser: To log in, use the admin credentials that the installation script has displayed.Look around
After logging in, the first thing you’ll see is the OpenOps Overview view: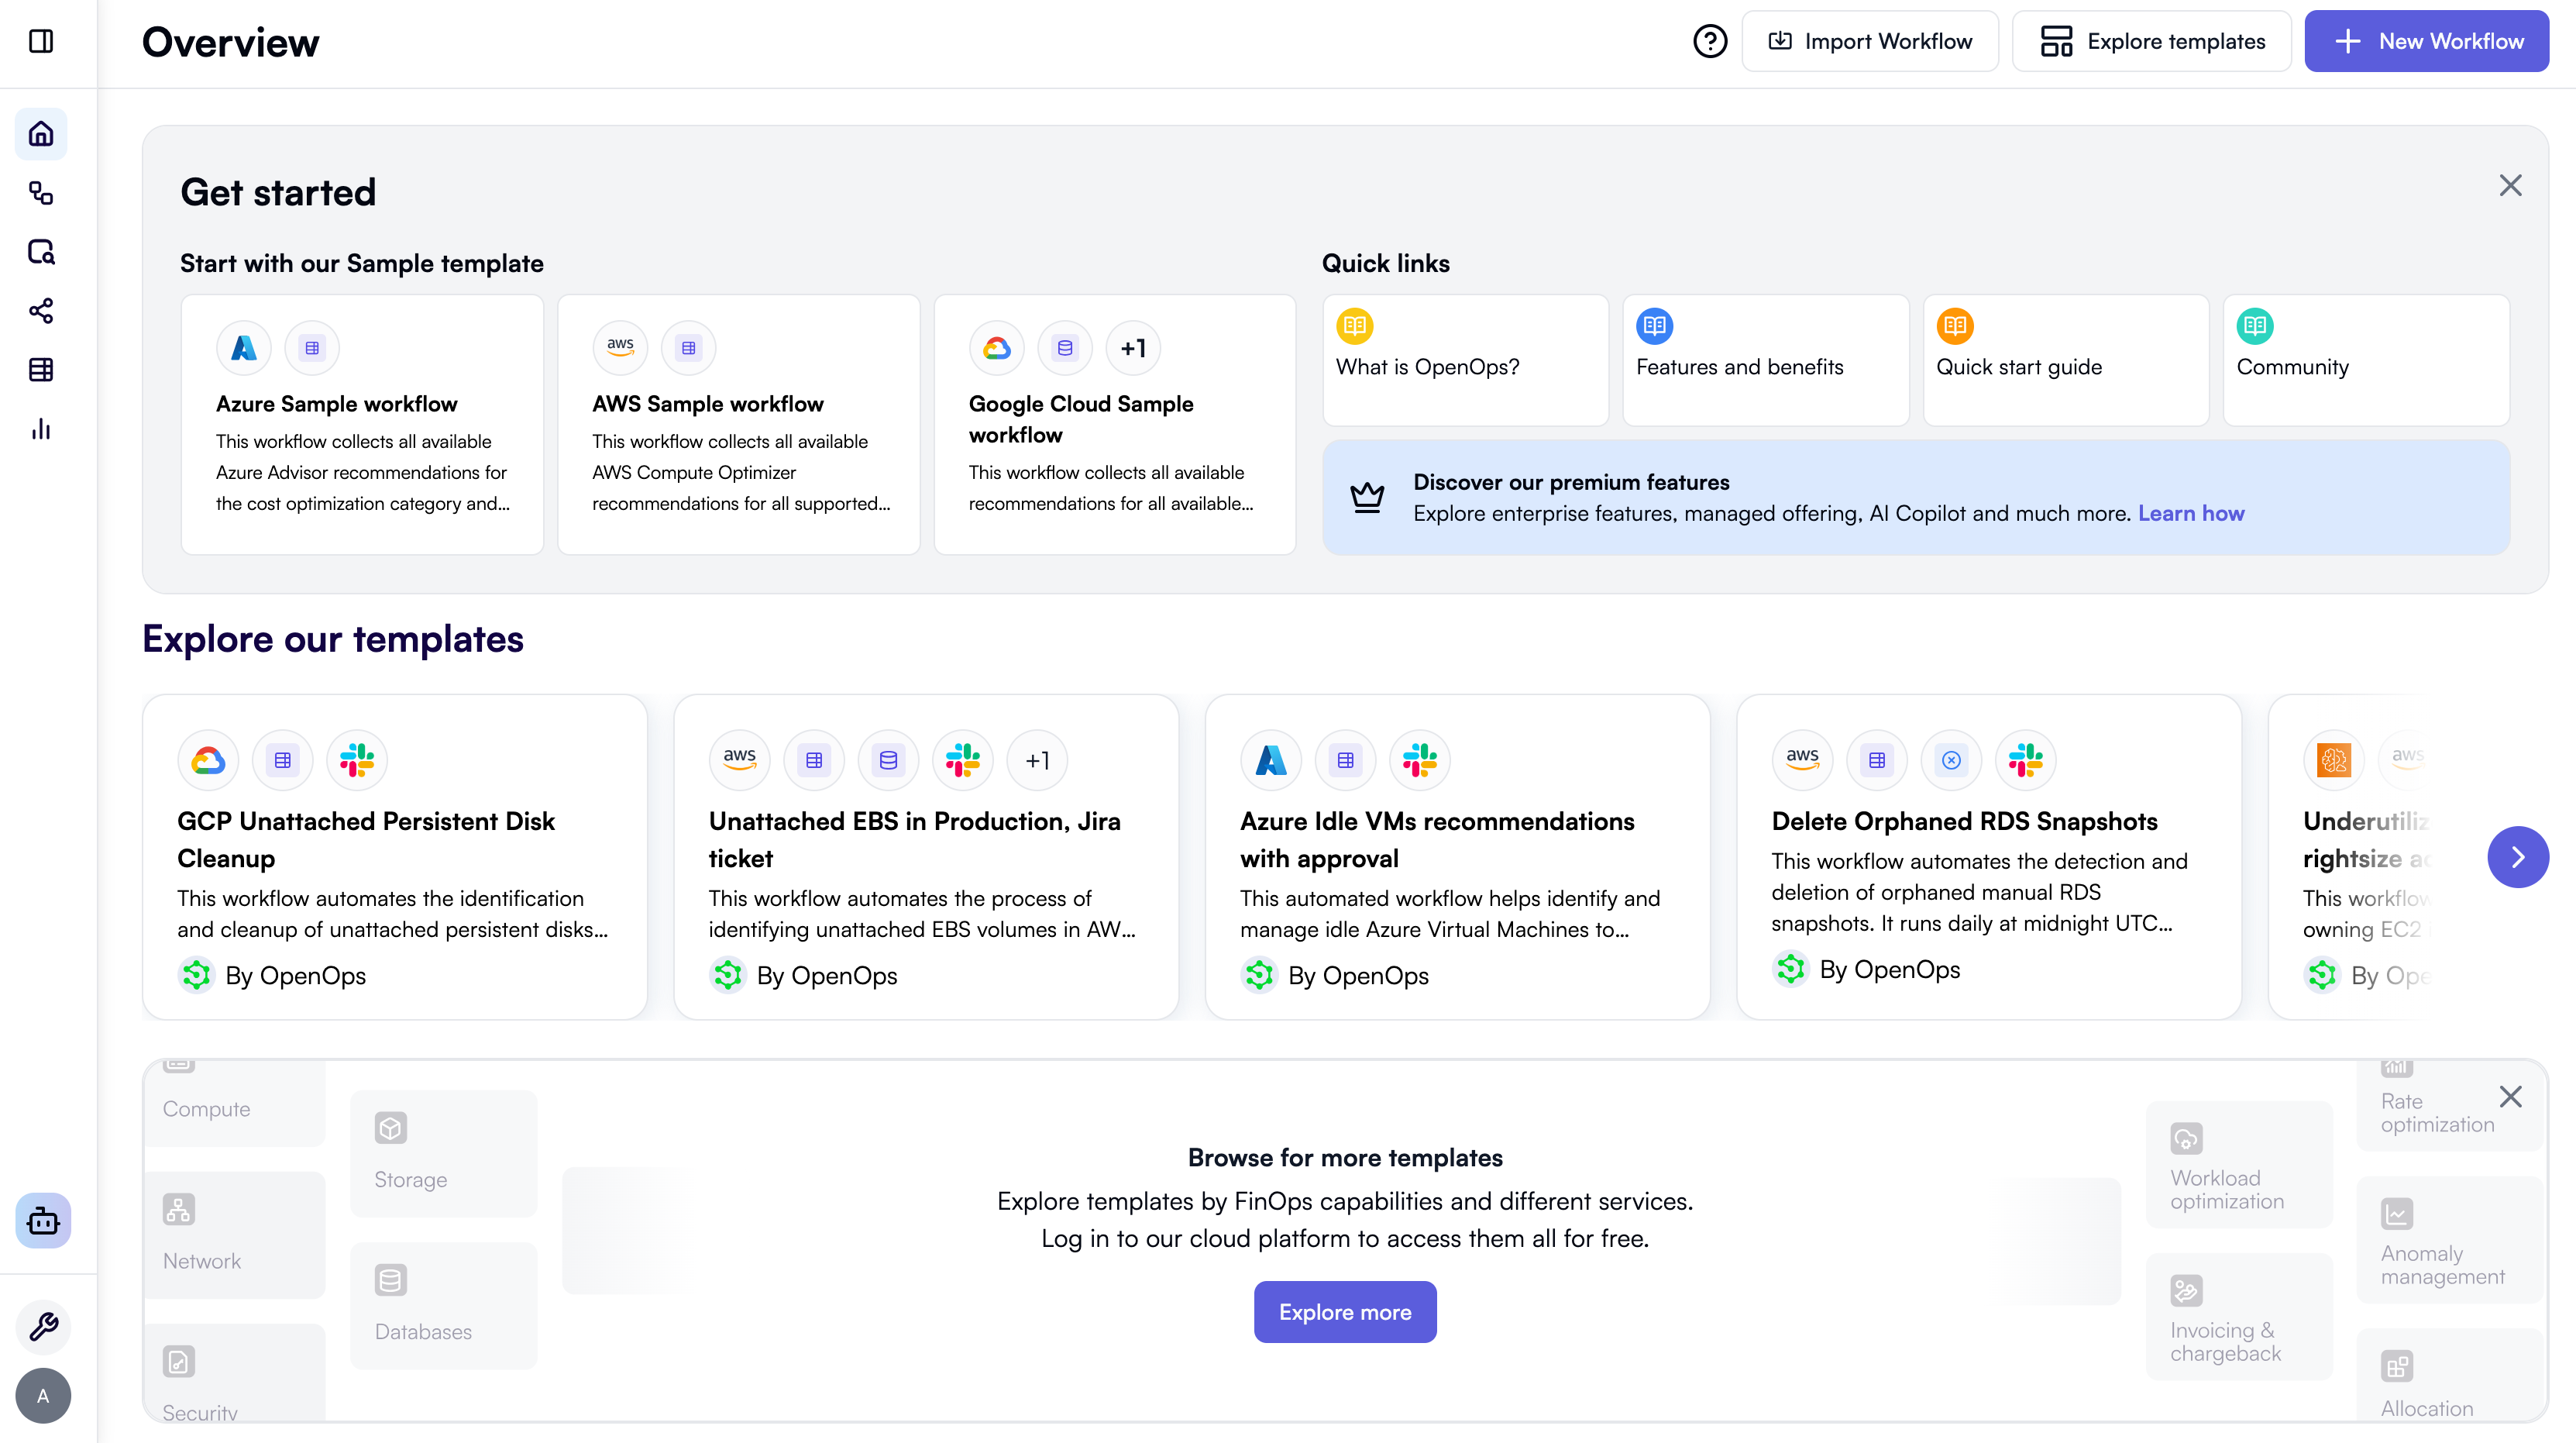
- Workflows will let you keep track of the workflows that you create.
- Runs will keep a history of executing your workflows, indicating start time and status.
- Connections will list all permissions you provide to OpenOps for various cloud providers and services, as well as let you create new ones.
- Tables will store data collected by workflows, as well as any information you enter or import to use in your workflows.
- Analytics will let you visualize data from OpenOps tables and external data sources, such as CSV files or Google Sheets.
Run a sample workflow
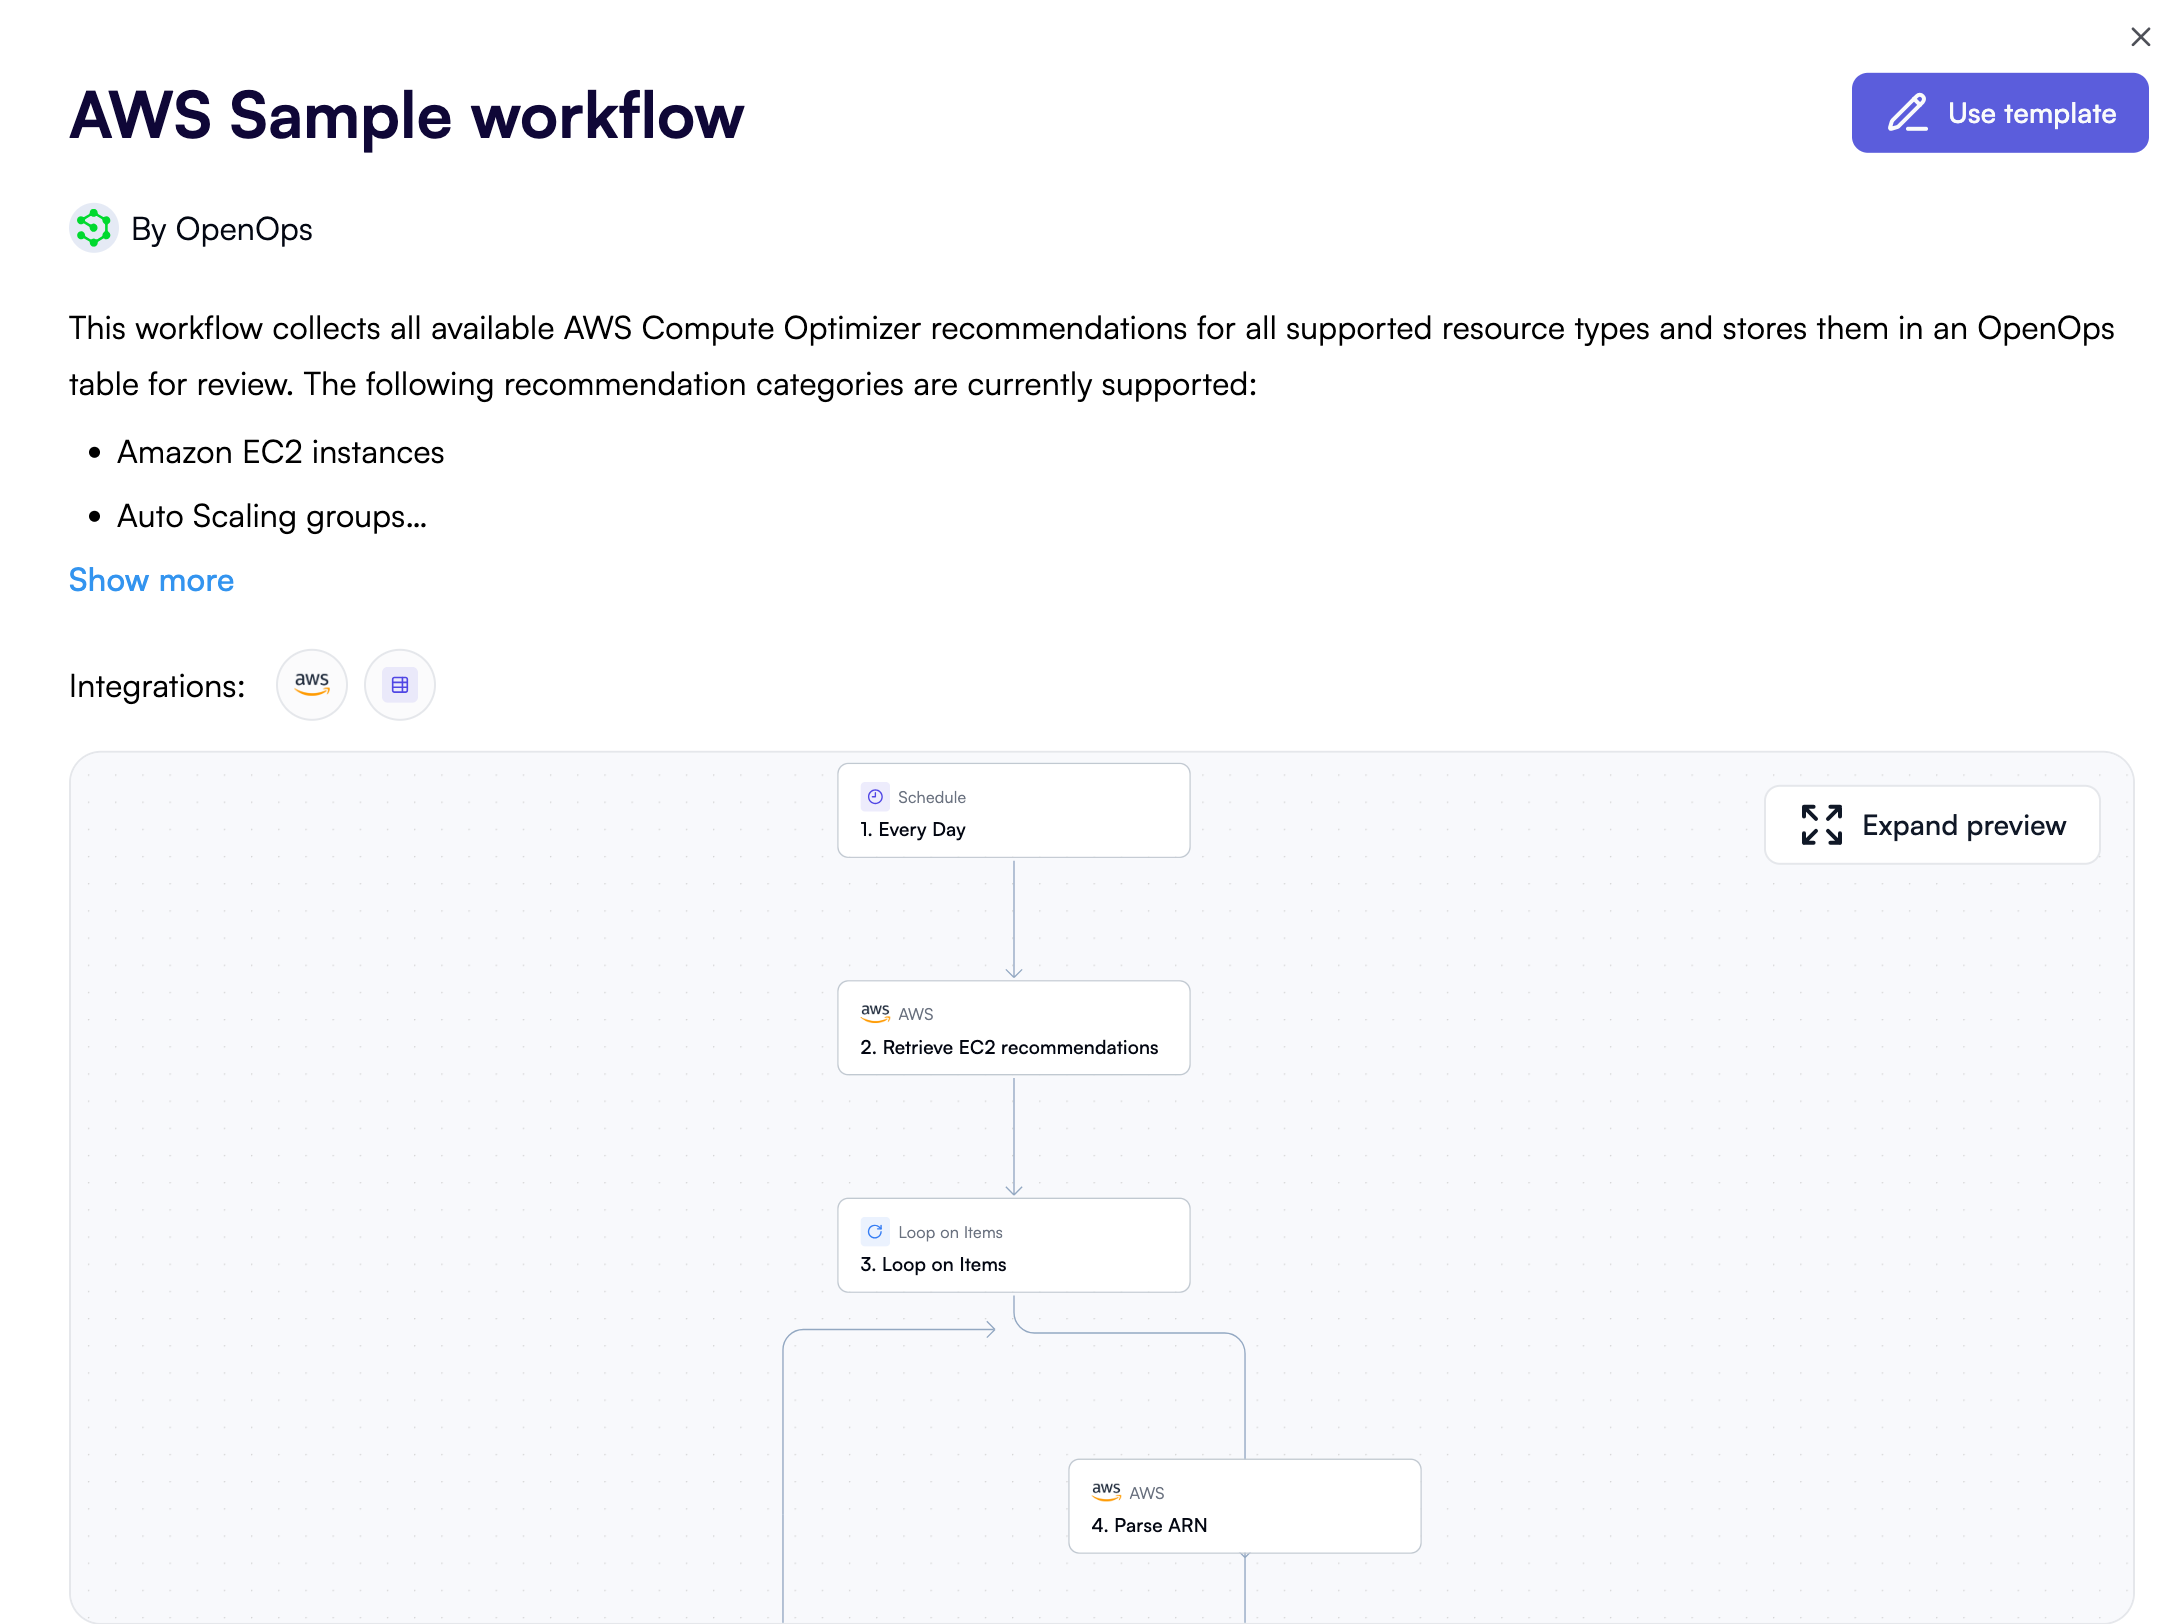
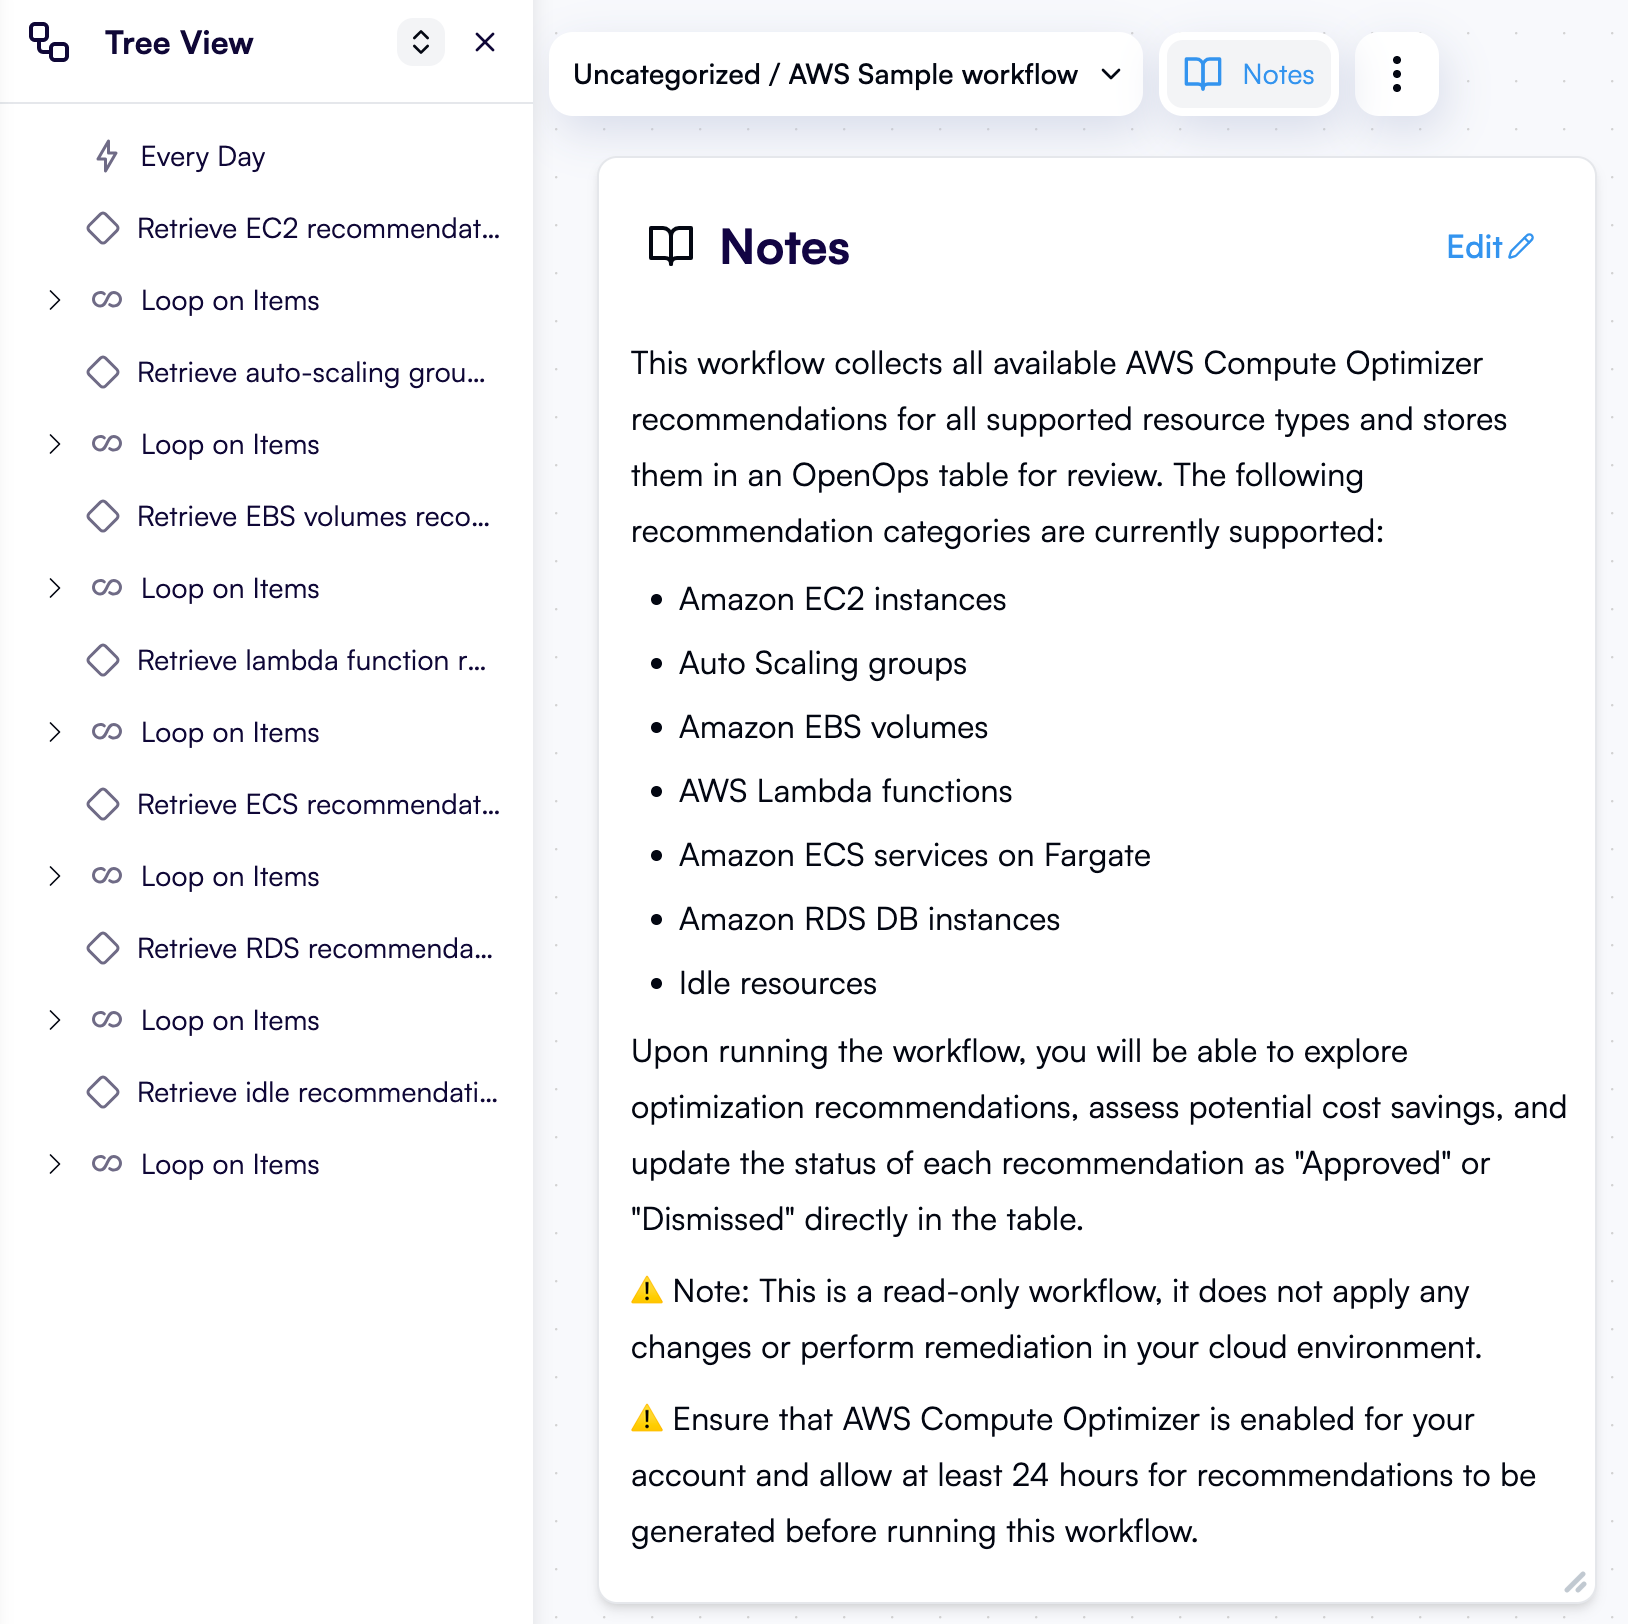
Back in Overview, OpenOps suggests three sample beginner-level workflows to help you get a feel of the product. Let’s use one of them to collect all available AWS Compute Optimizer recommendations for a variety of AWS resource types, and save the recommendations to an OpenOps table. Click AWS sample workflow: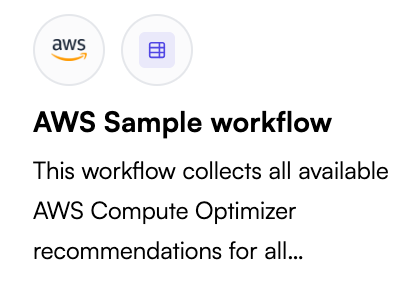
Configure an AWS connection
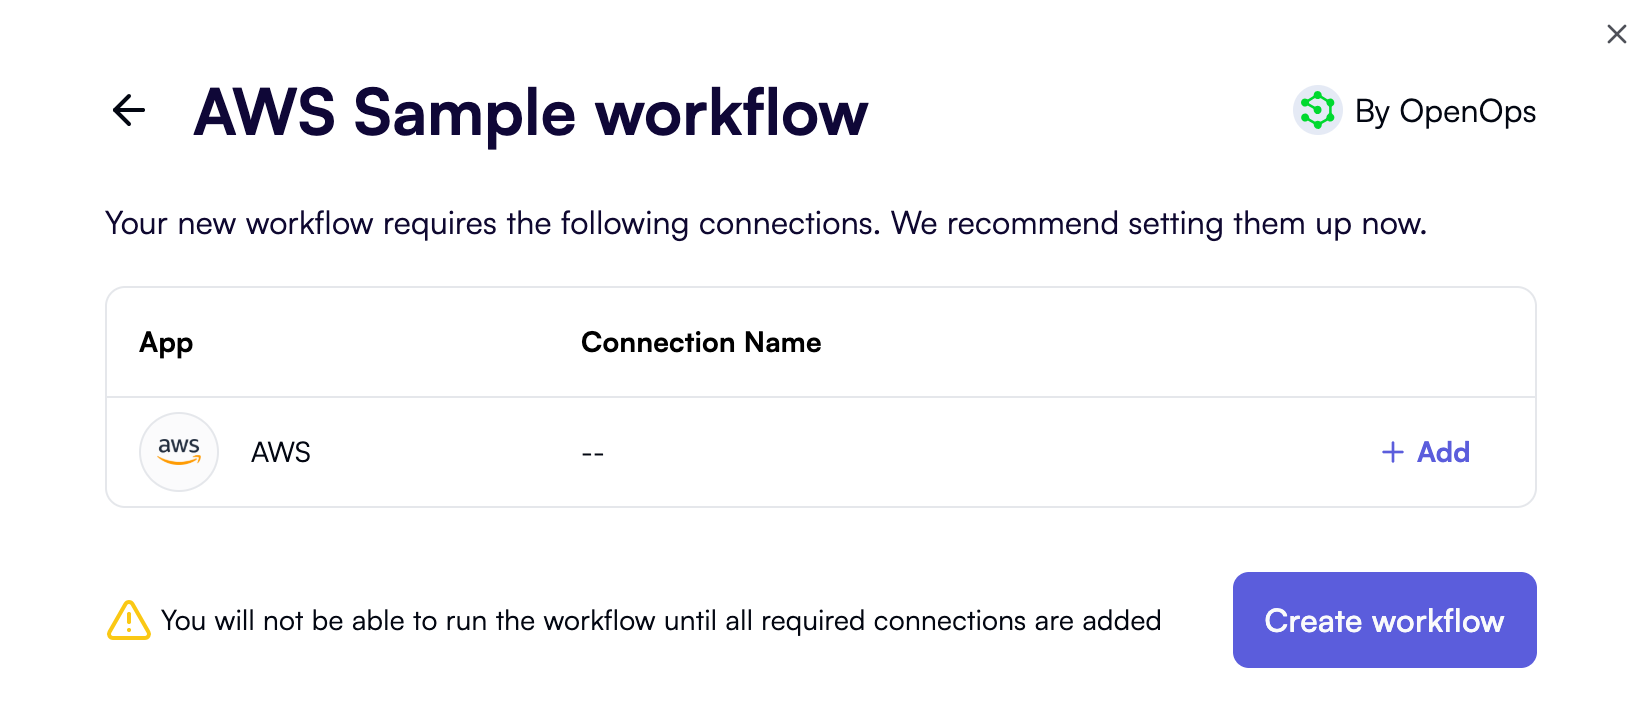
You could add the connection later, but let’s do it now. Click + Add alongside the required connection.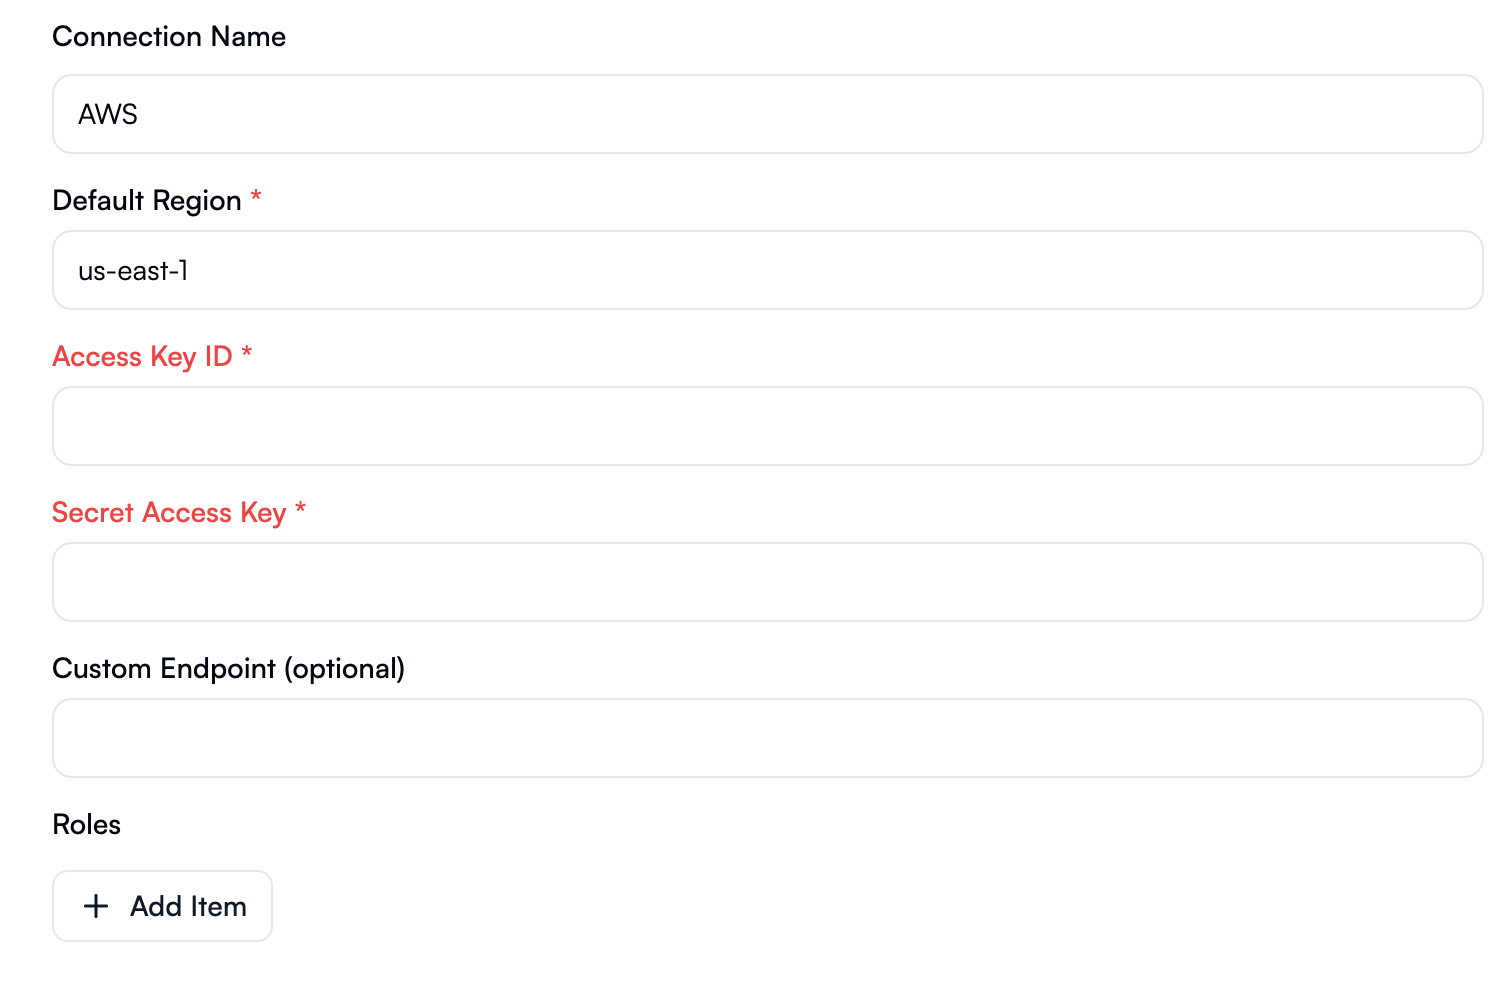
Look around the workflow editor
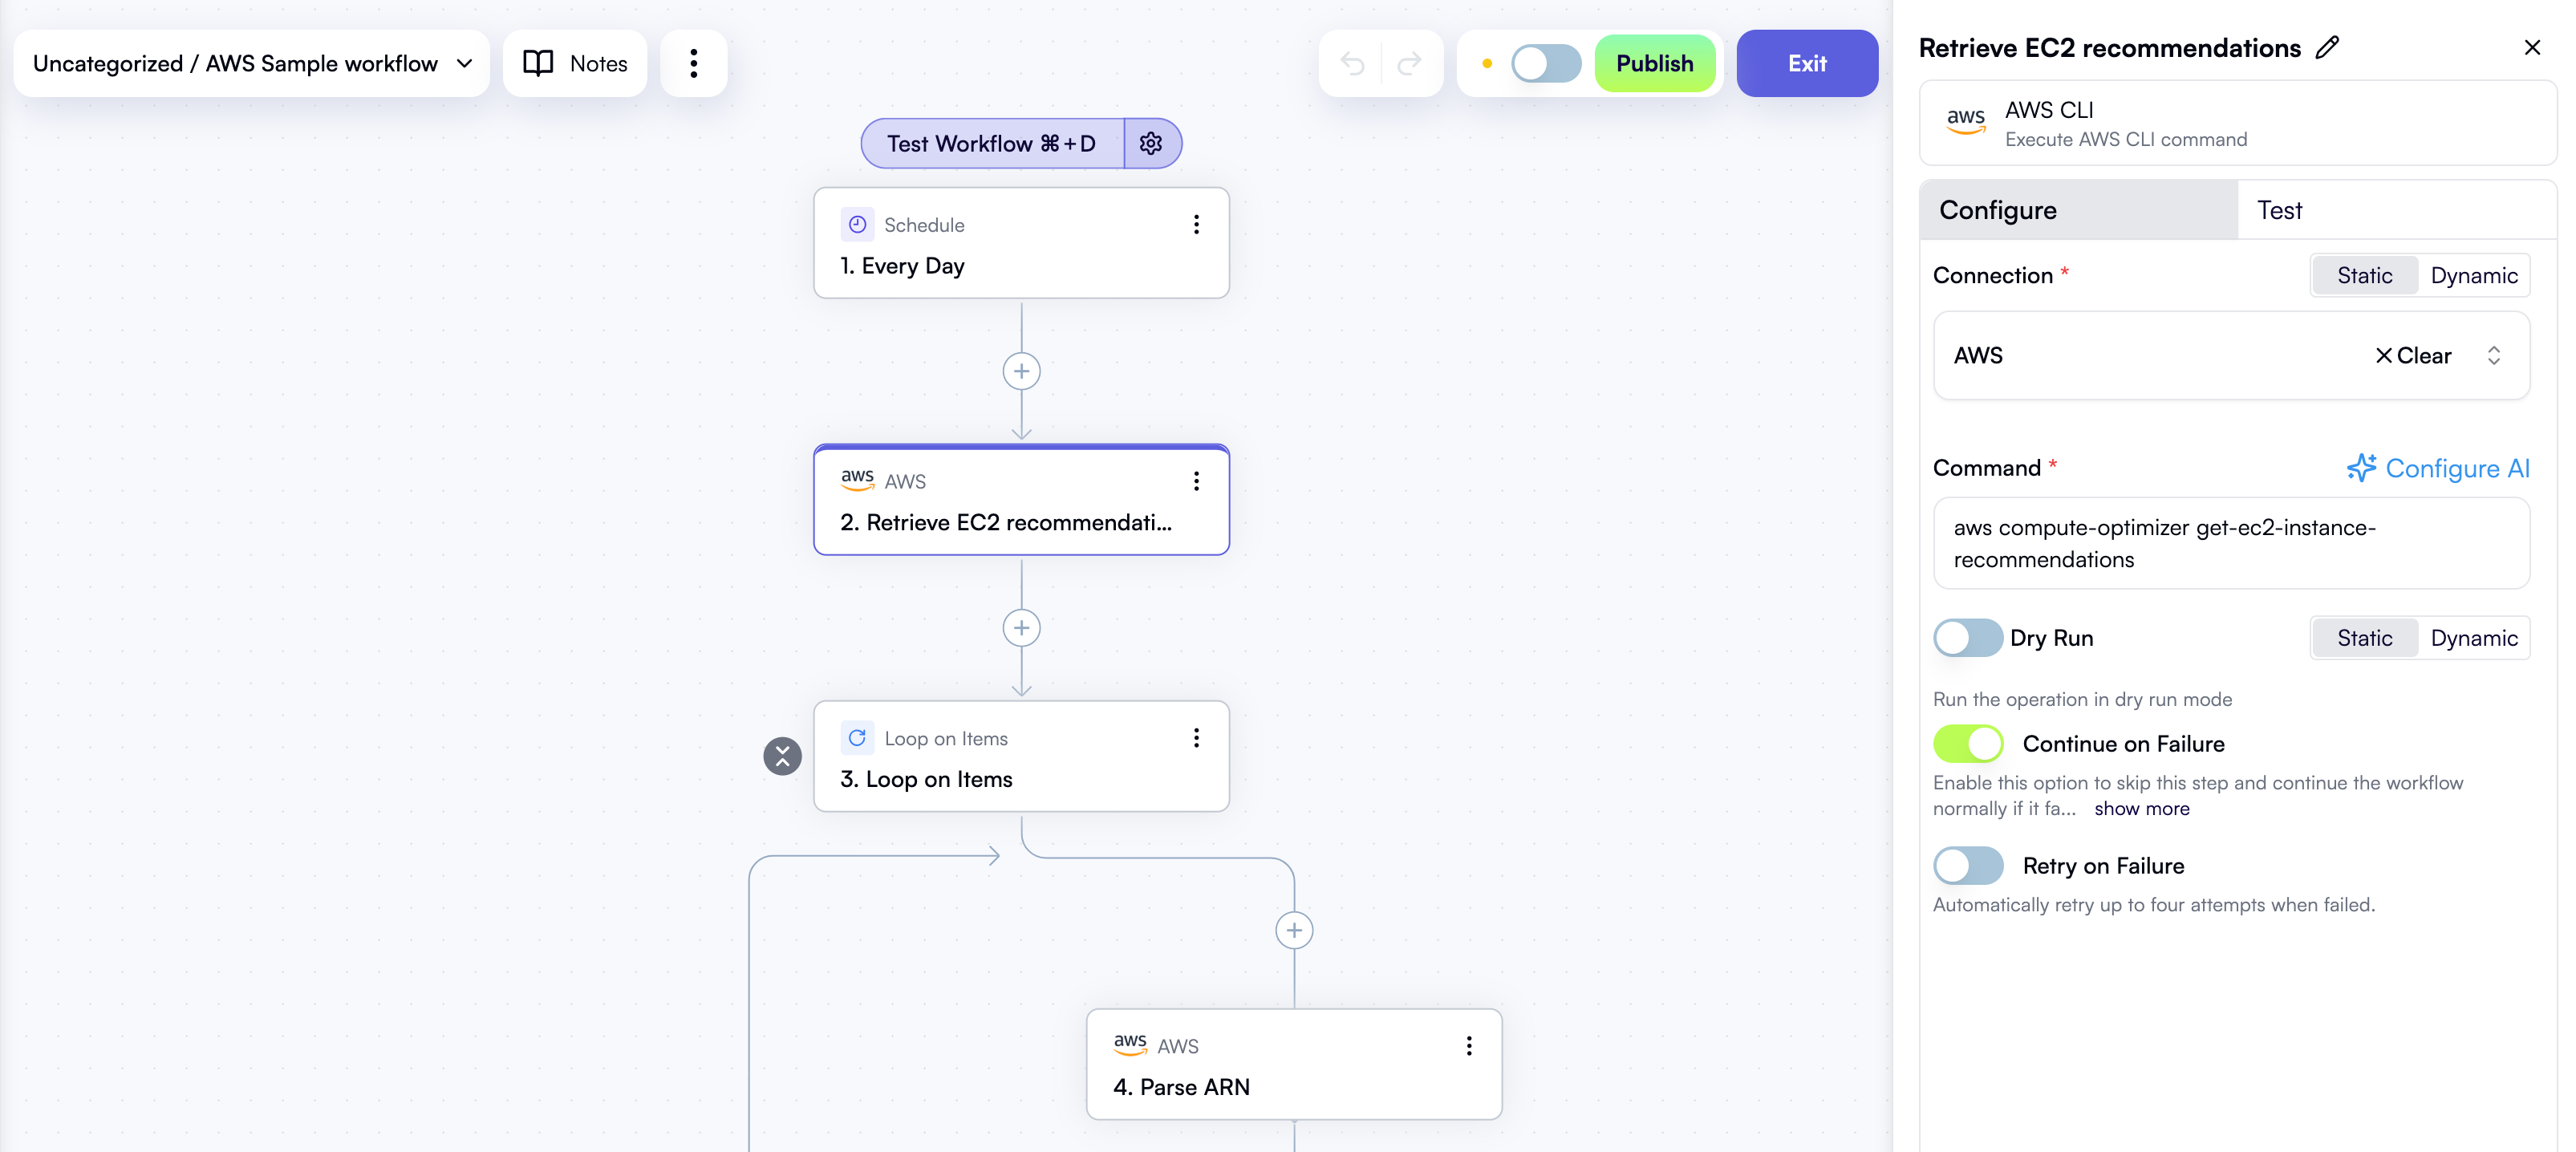
When the workflow summary popup displays again, this time with a connection defined, click Create workflow. The new workflow now displays in the workflow editor: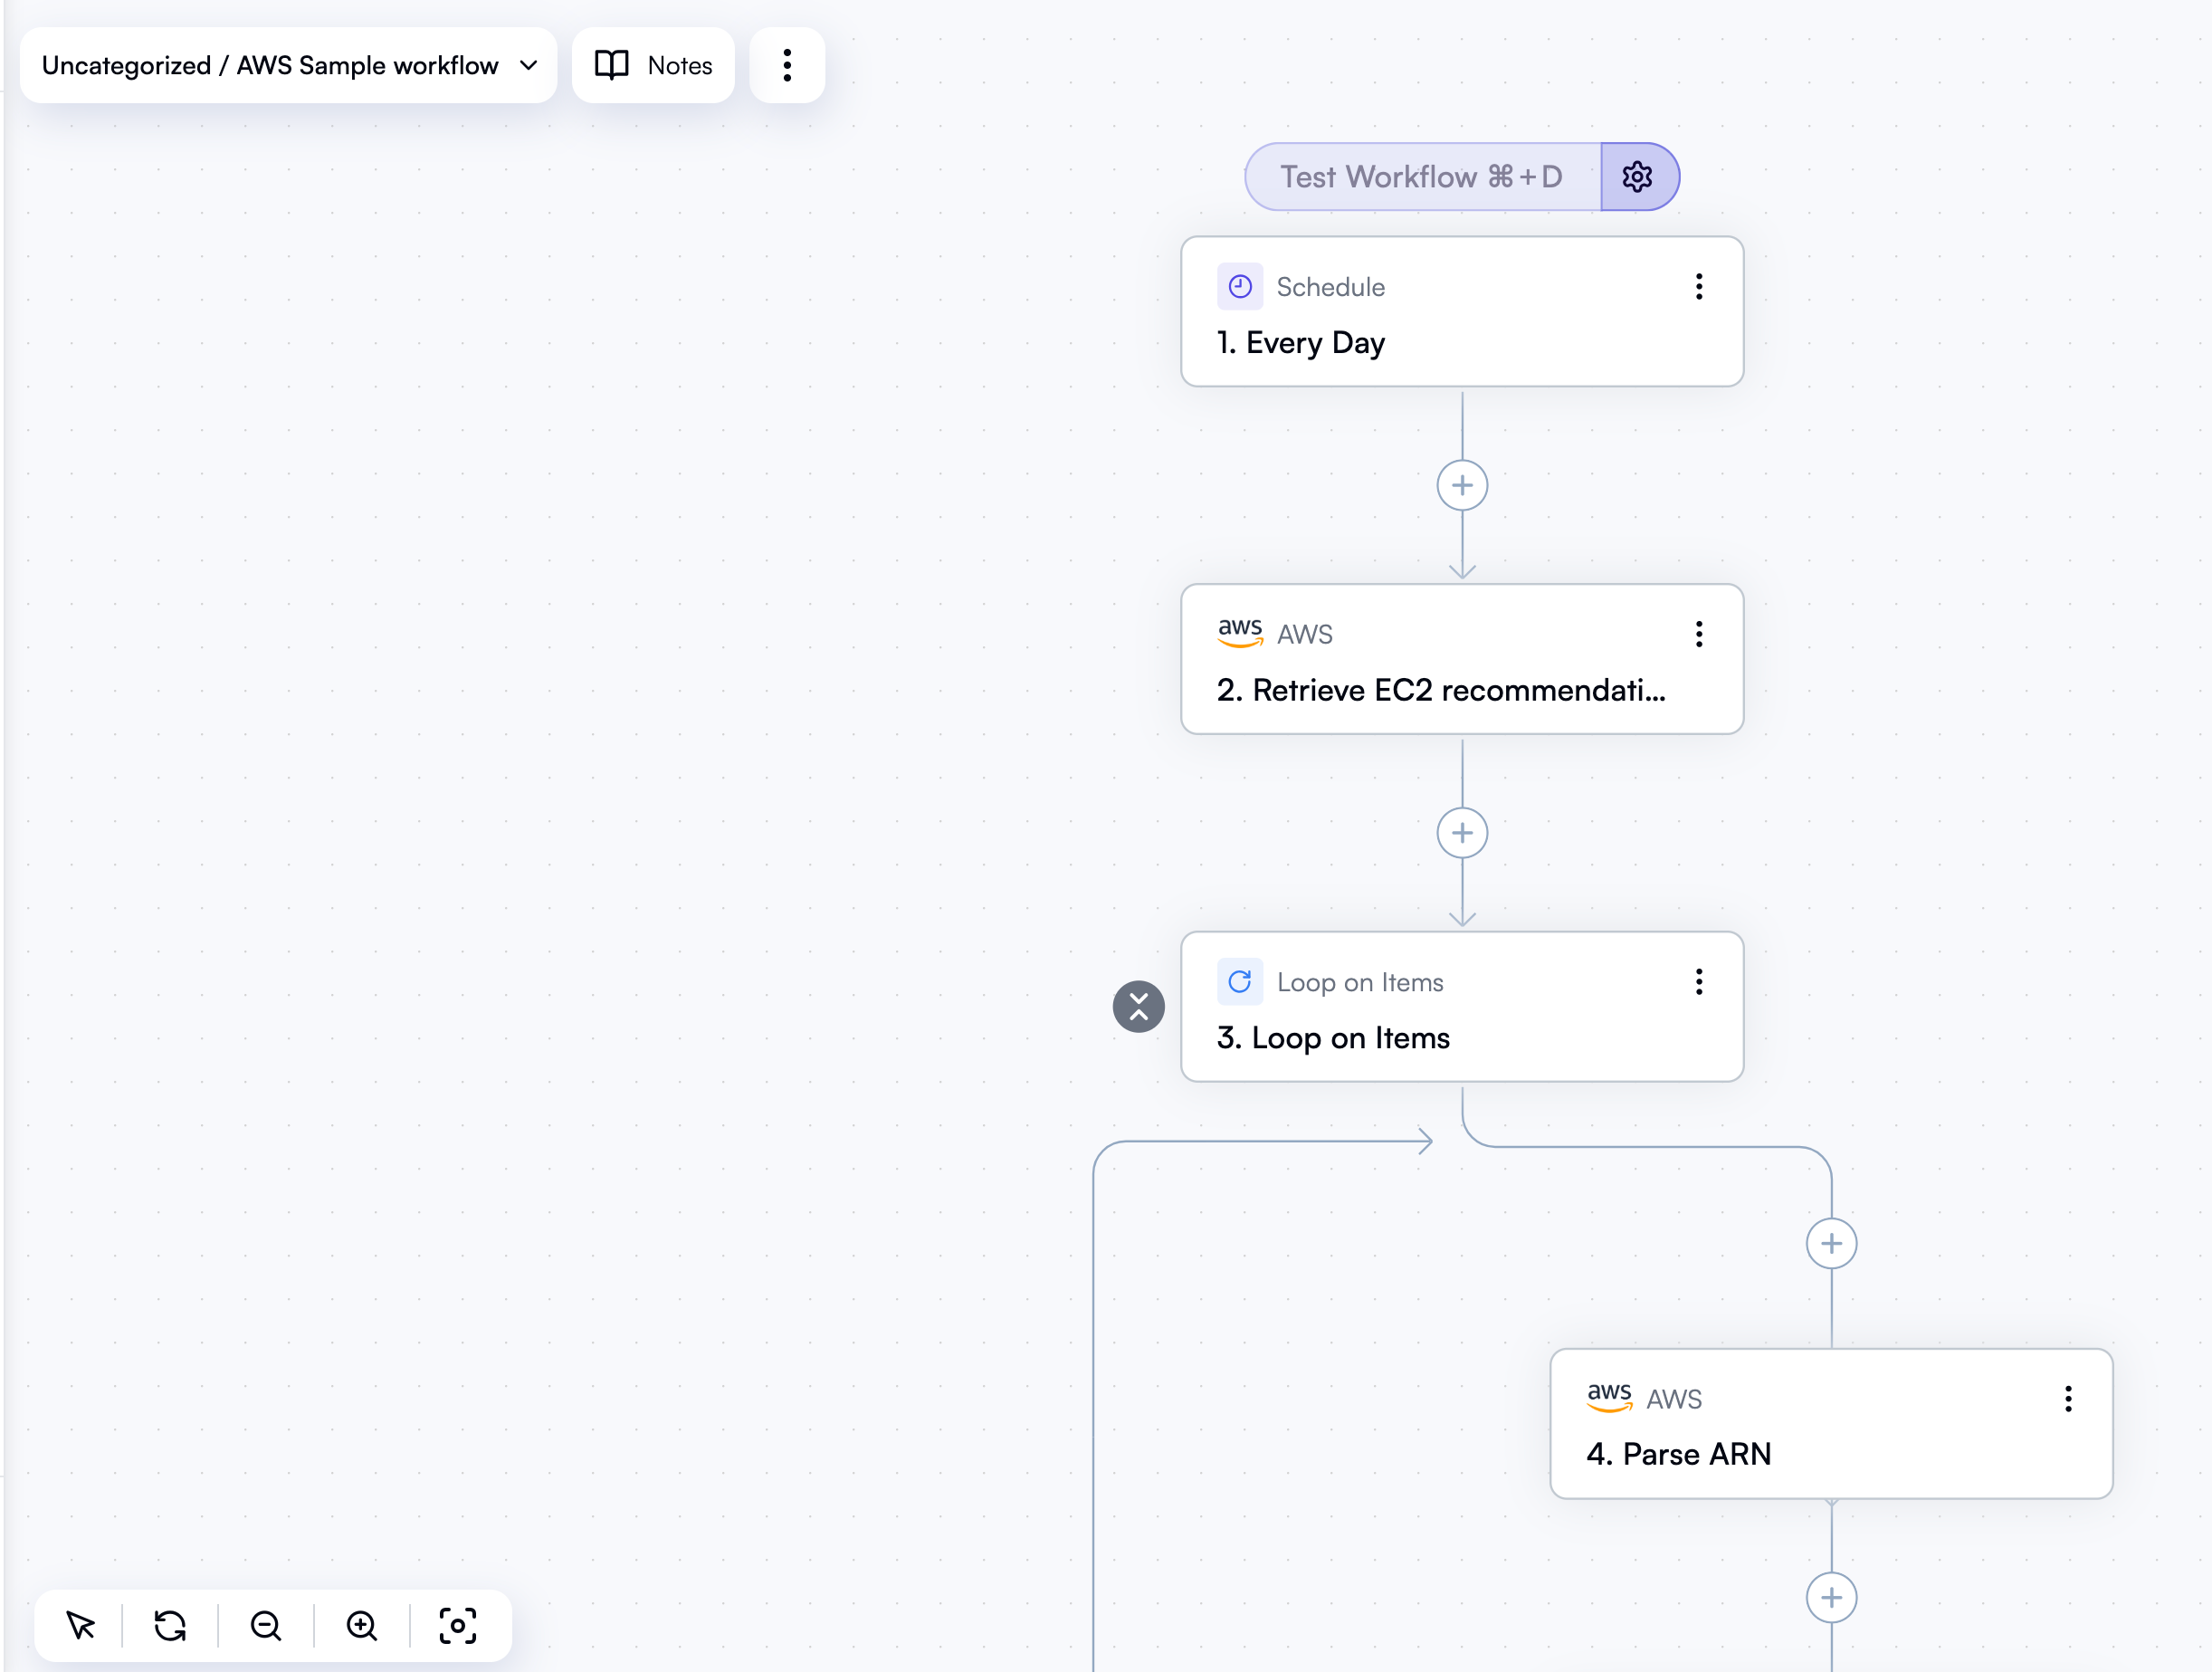
Test the workflow
Before your workflow goes live, you need to test it. Testing the workflow runs it in full, so you can treat it as an on-demand run in addition to its scheduled runs. At the top of the workflow editor, above the trigger, there’s a Test workflow button. However, right now it’s grayed out, and if you hover over it, OpenOps will ask you to test your trigger first: To test the trigger, click on its block in the workflow graph. In the trigger’s properties pane, click the Test tab, then click Load Data in the Step output section. As soon as you do, OpenOps will display test results. It looks like it’s all good so far: Now, if you look back at the Test workflow button at the top of the workflow editor, you can see that it’s now active, so go ahead and click it! OpenOps will take a few seconds to run the workflow, and when it finishes, you’ll see the Run Details pane on the left of the workflow editor: This pane displays the status of each workflow step. If you click a step, you can see its inputs and outputs as JSON in the bottom part of the pane. As long as the status of each step is green, your workflow is ready to go, and you can publish it.Publish the workflow
To start running the workflow on schedule, you need to publish it. When testing, the workflow editor switches to read-only mode. To get back to editing mode, click Edit on the top right. Once back in the editing mode, one of the top-right buttons is now called Publish. Click it, and as soon as you do, your workflow is live! It will now run periodically on the schedule defined by its trigger.See the results of your test run
When you tested the workflow, it was a full on-demand run. Some of the workflow steps fetched AWS Compute Optimizer recommendations for various AWS resource types, and other steps recorded these recommendations to an OpenOps table. Let’s see what’s been recorded to the table. Click the book icon on the top left to show the sidebar. In the sidebar, click Tables: You’ll see a list of all predefined tables under the heading OpenOps dataset. Click the Opportunities table. You’re going to see a table that lists the saving opportunities that the workflow run revealed, including USD estimates: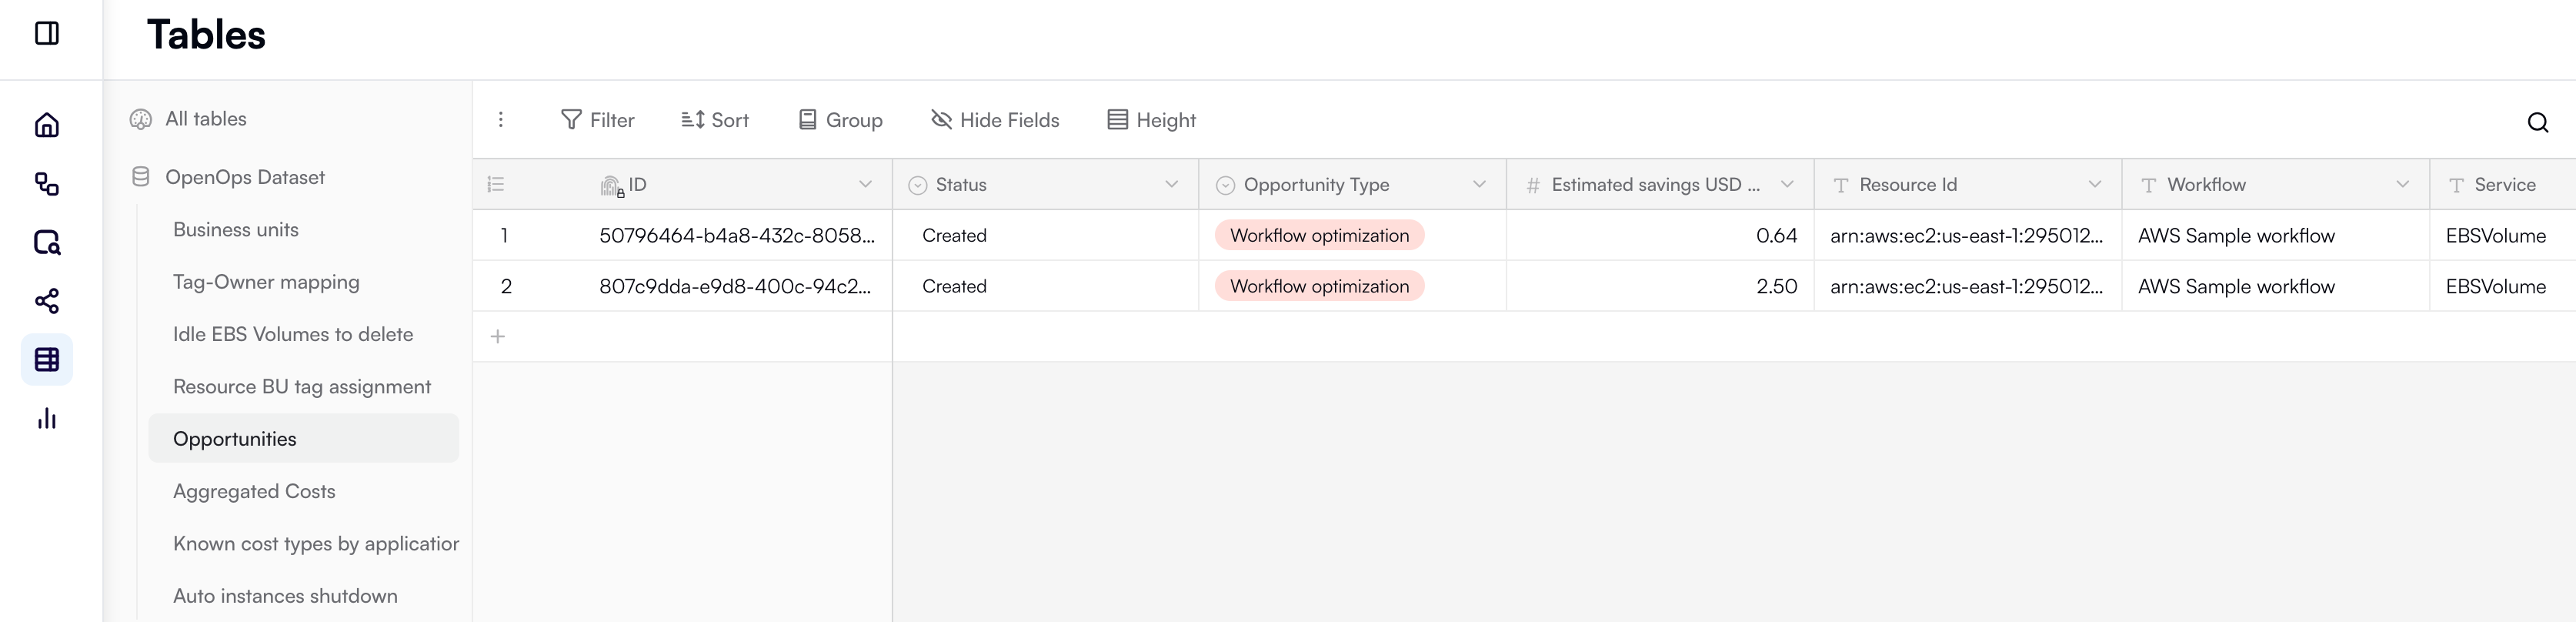
Get templates for your future workflows
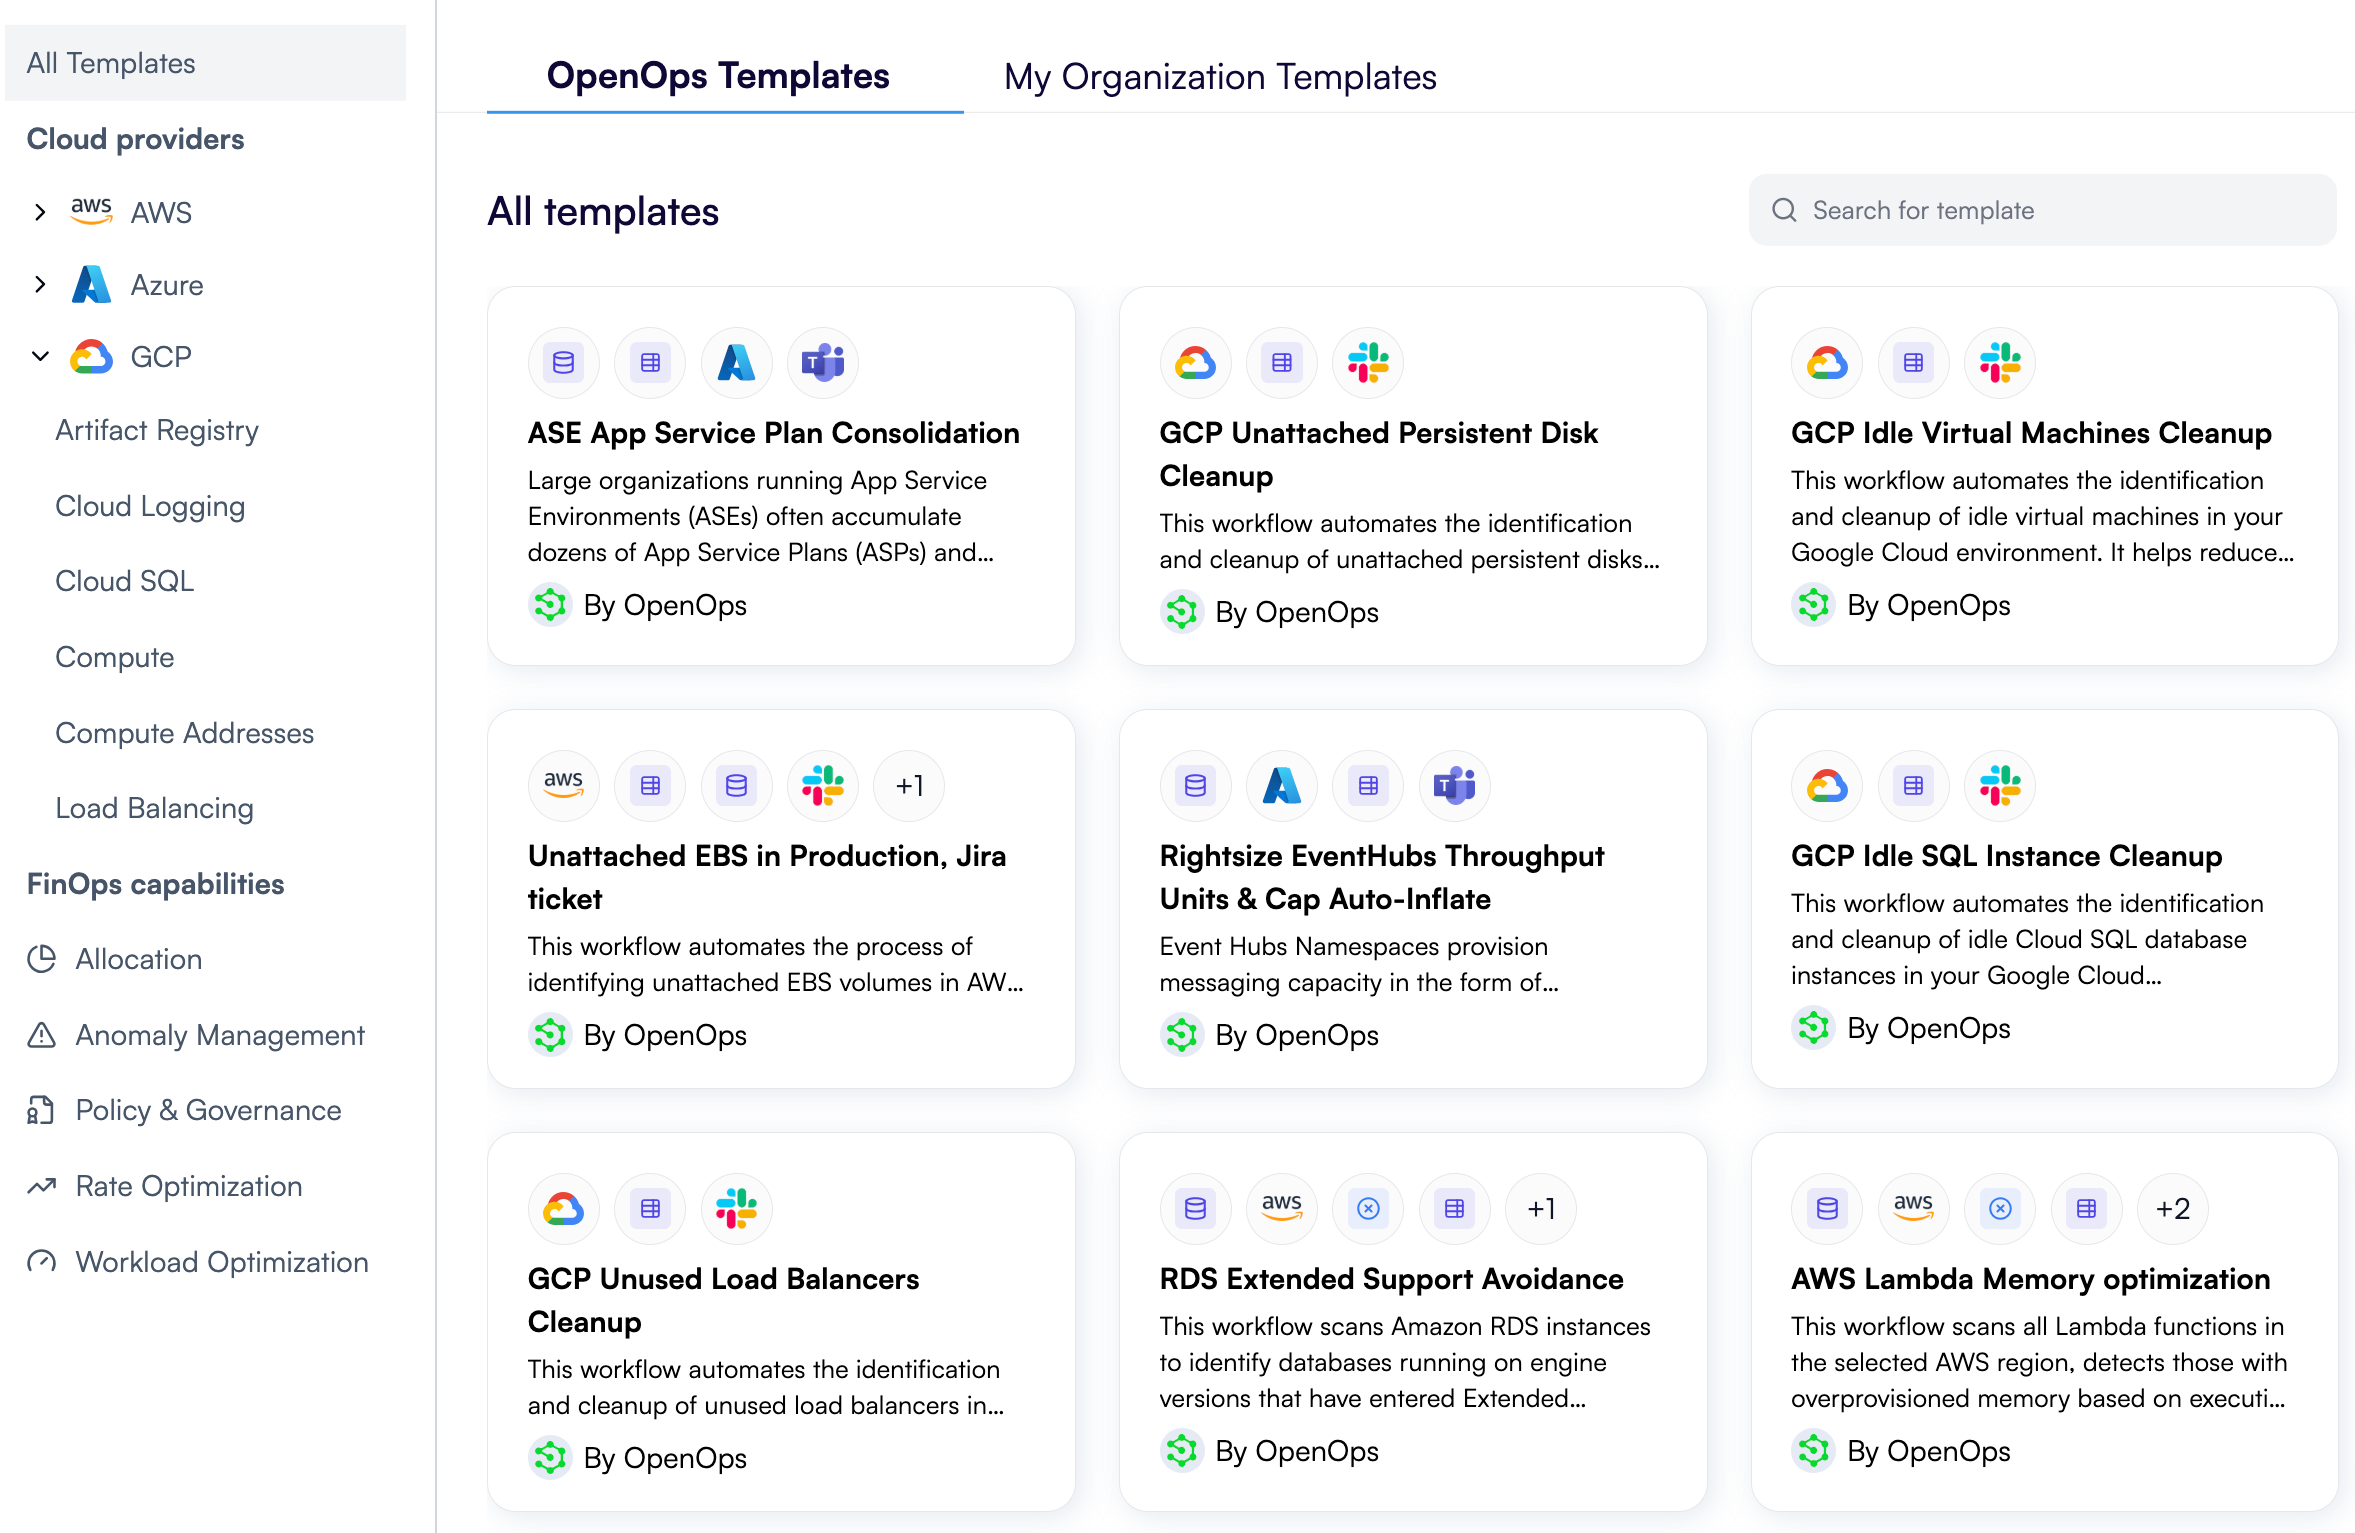
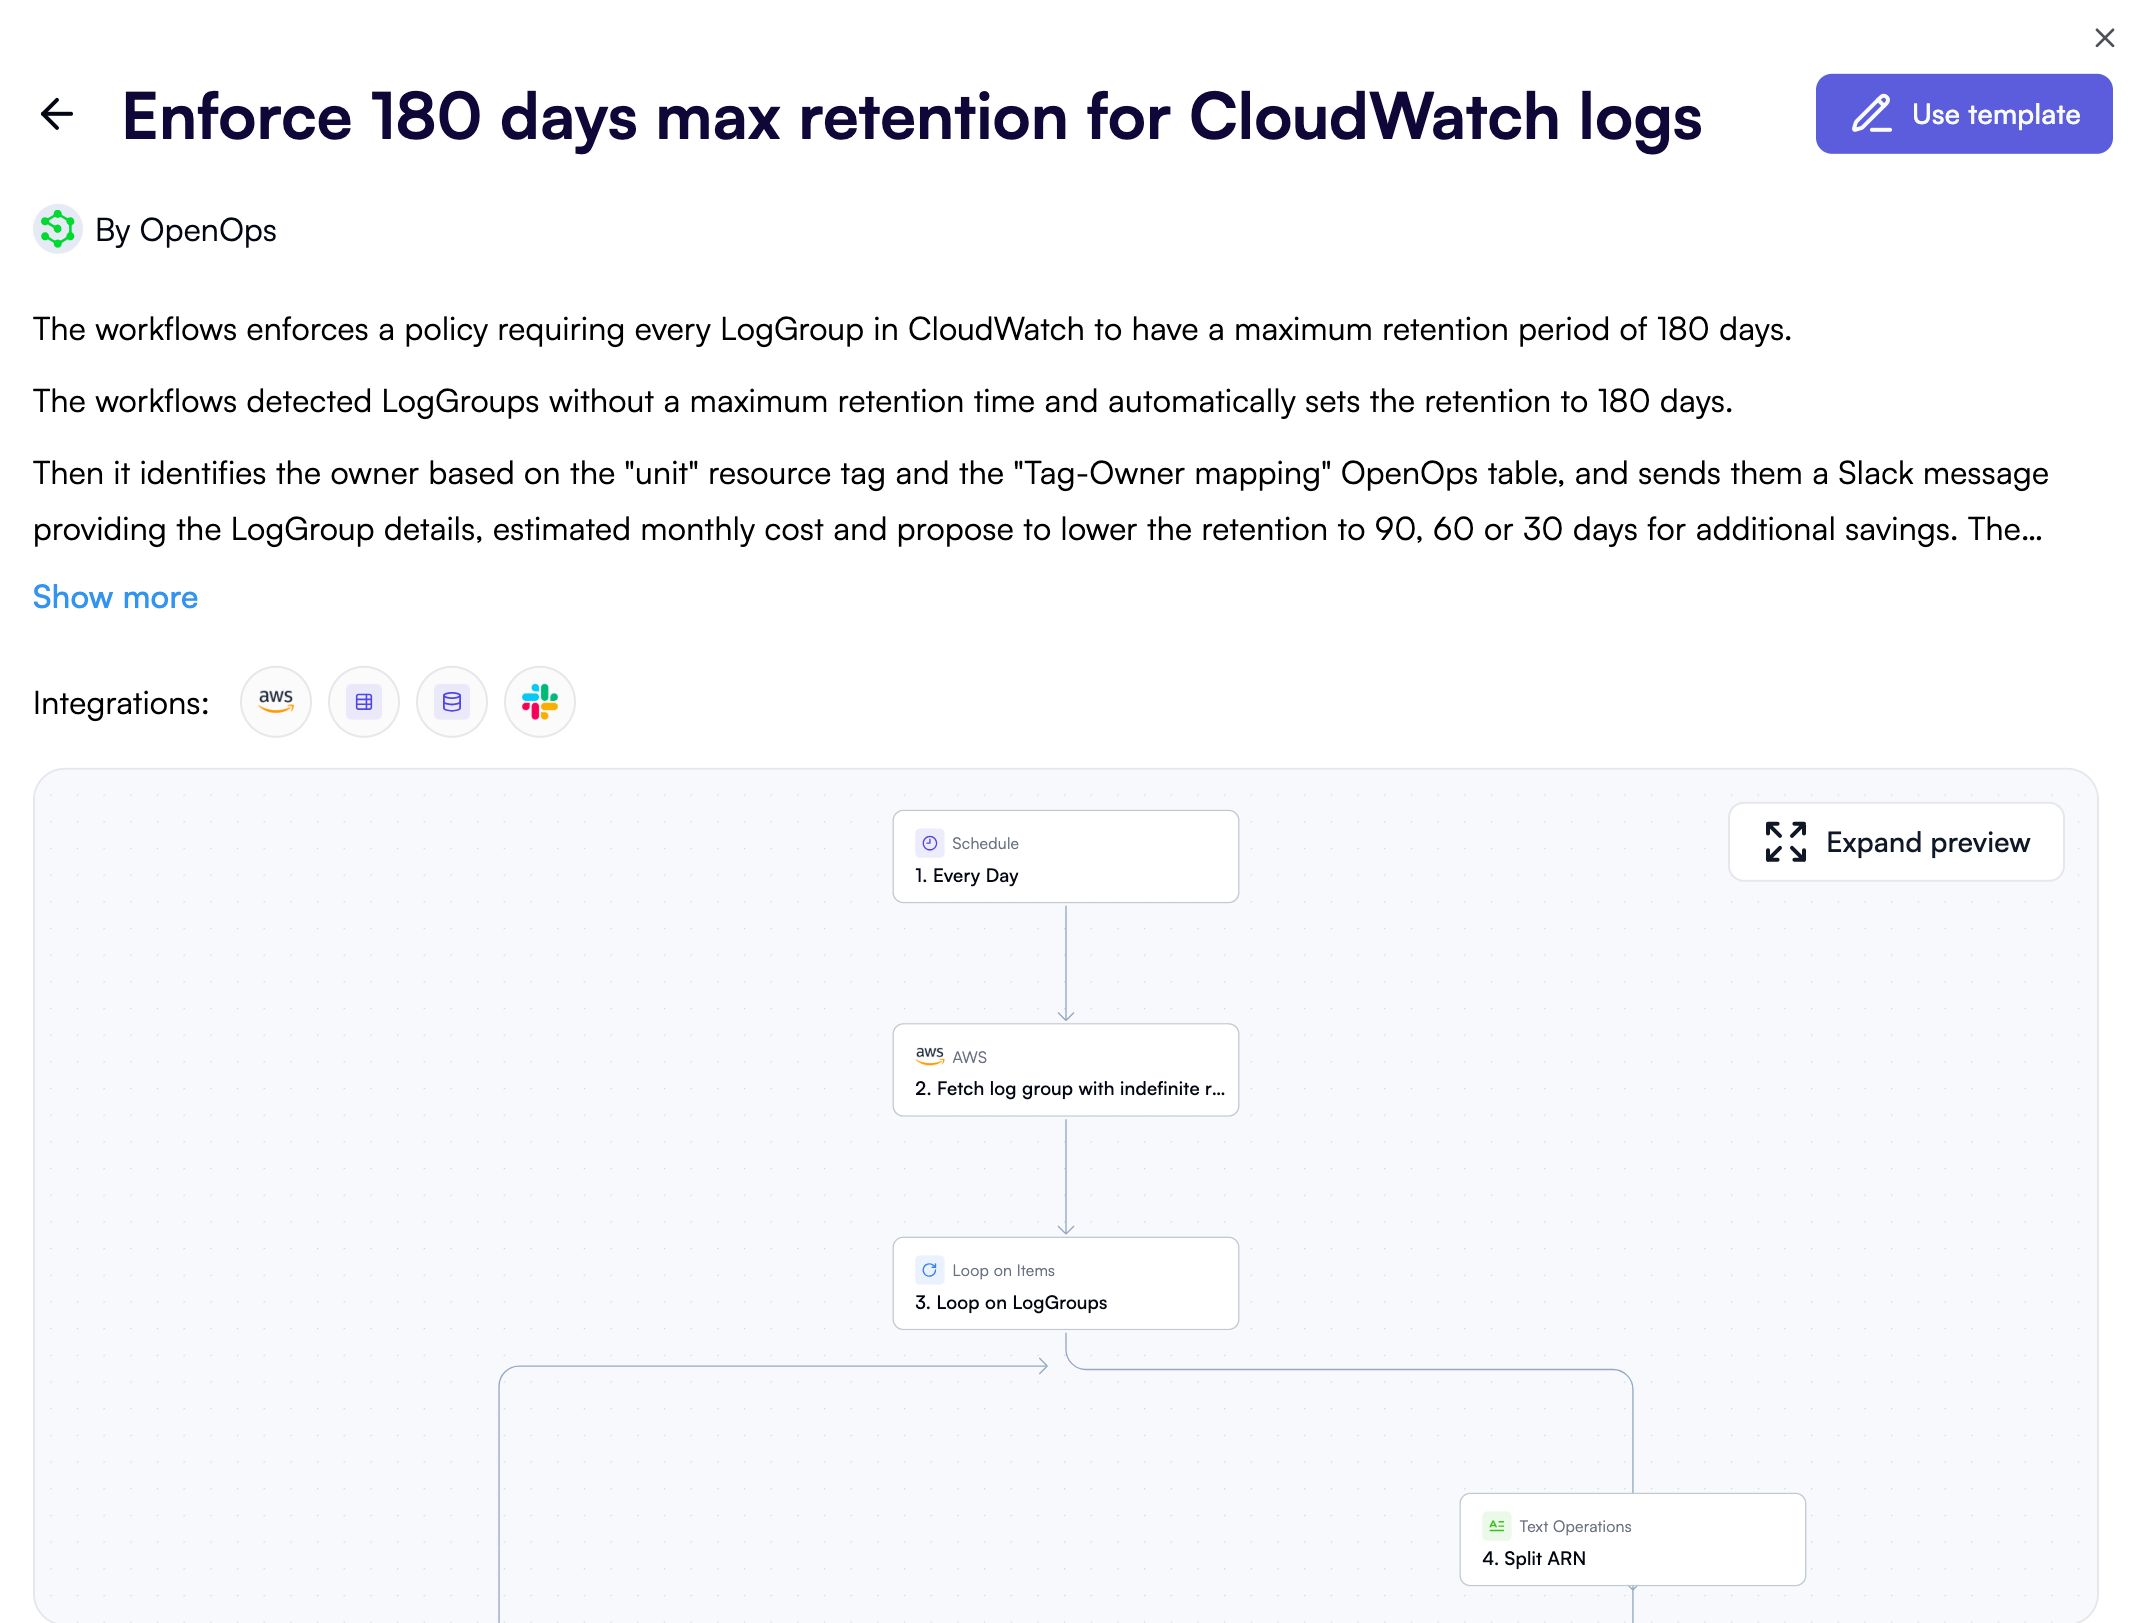
The sample AWS workflow that you’ve just tested and published provides just a quick glance of what OpenOps can do. In real FinOps scenarios, you would want your workflows to do more: for example, find owners of unused resources, request their decision on whether to delete or keep resources, and if they decide to delete, then execute IaC automations and create GitHub pull requests. Fortunately, OpenOps provides dozens of real-world FinOps templates that you can base your workflows on. To get hold of them, in the sidebar, click Overview. Then click Explore templates in the top-right menu bar to see the template catalog: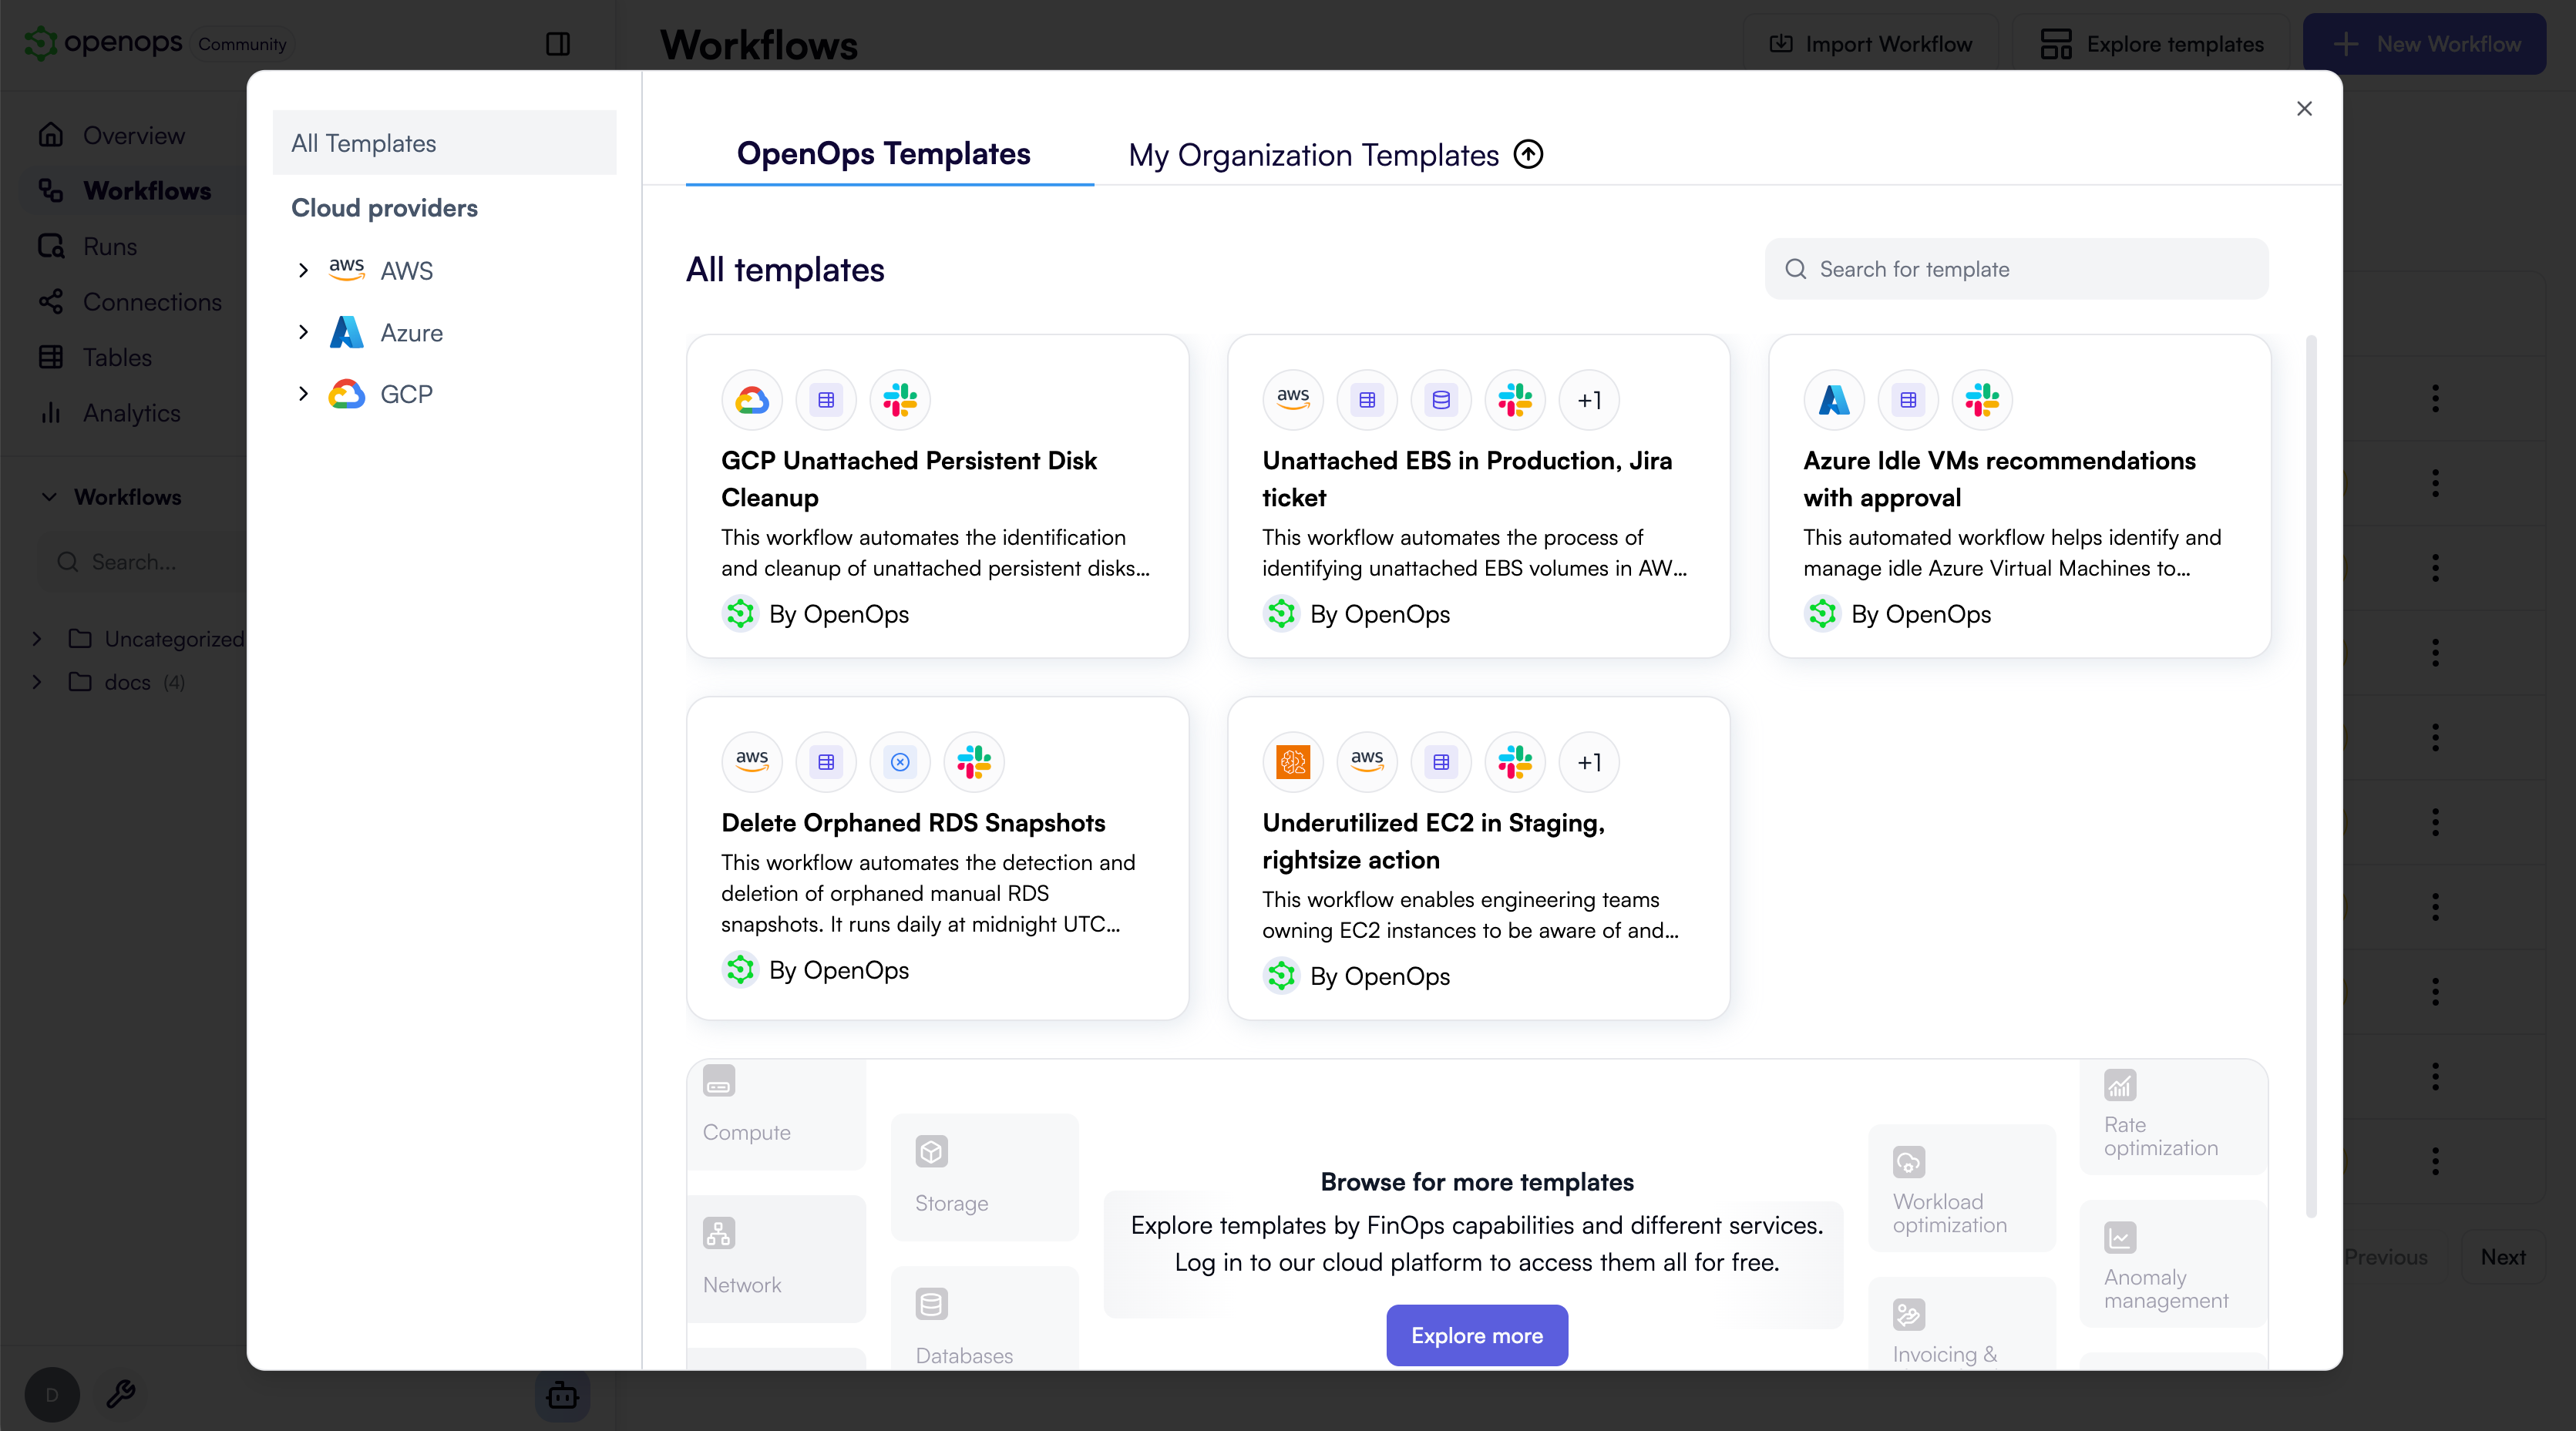
You may not be able to connect to OpenOps Cloud and see additional templates if:
- Your browser is configured to block third-party cookies. Allow third-party cookies (Chrome, Safari, Firefox) for your OpenOps installation’s URL.
- You’re using an OpenOps installation served over HTTP in Safari. Consider enabling HTTPS for your installation by following the instructions for AWS, Azure, or GCP deployments.